Table of Contents
Create a Pushover Account or Sign In
If you create a new account, do not forget to verify your email address. Open the verification email sent by Pushover, then click Verify your e-mail address to activate your account.
Create a Pushover Application/API Token
Create a New Pushover Application/API Token
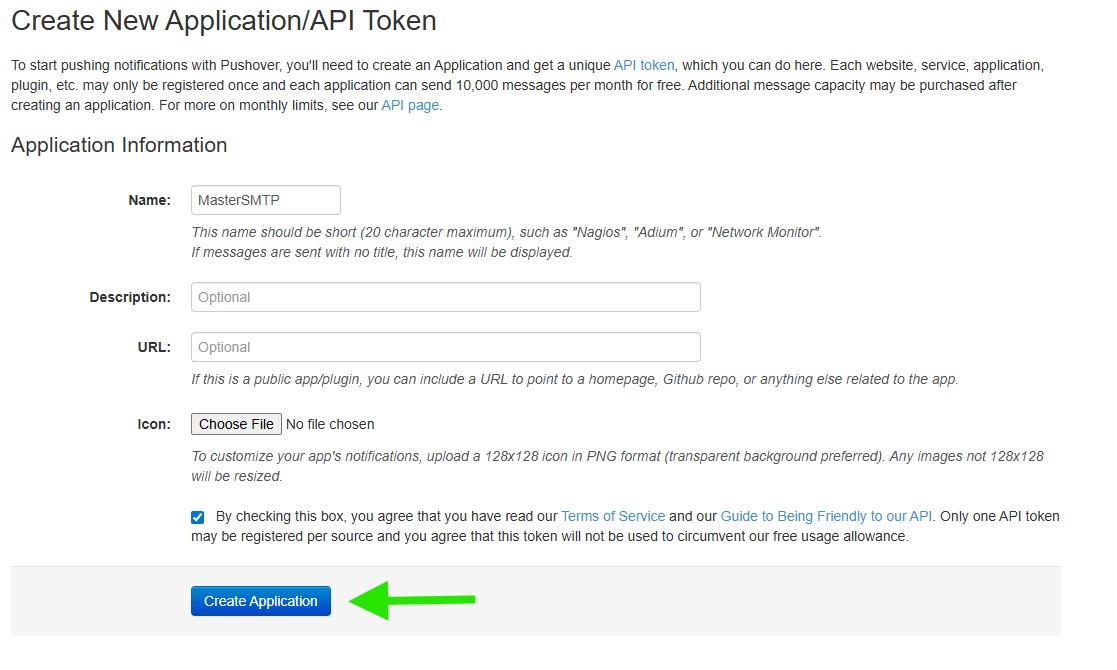
After signing in to your Pushover account, go to pushover.net/apps/build to create a new application and generate an API token for Master SMTP.Enter a name for your application, such as MasterSMTP, then click Create Application to generate the Pushover Application/API Token.
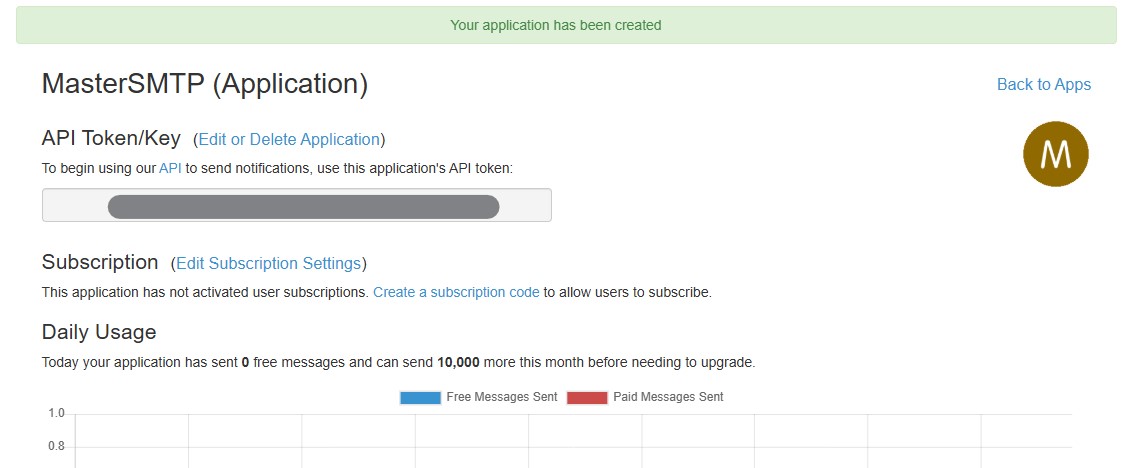
After the application is created, copy the API Token/Key shown on the application page. You will need this token later when configuring Pushover notifications in the Master SMTP plugin.
Enable Pushover Notifications in Master SMTP
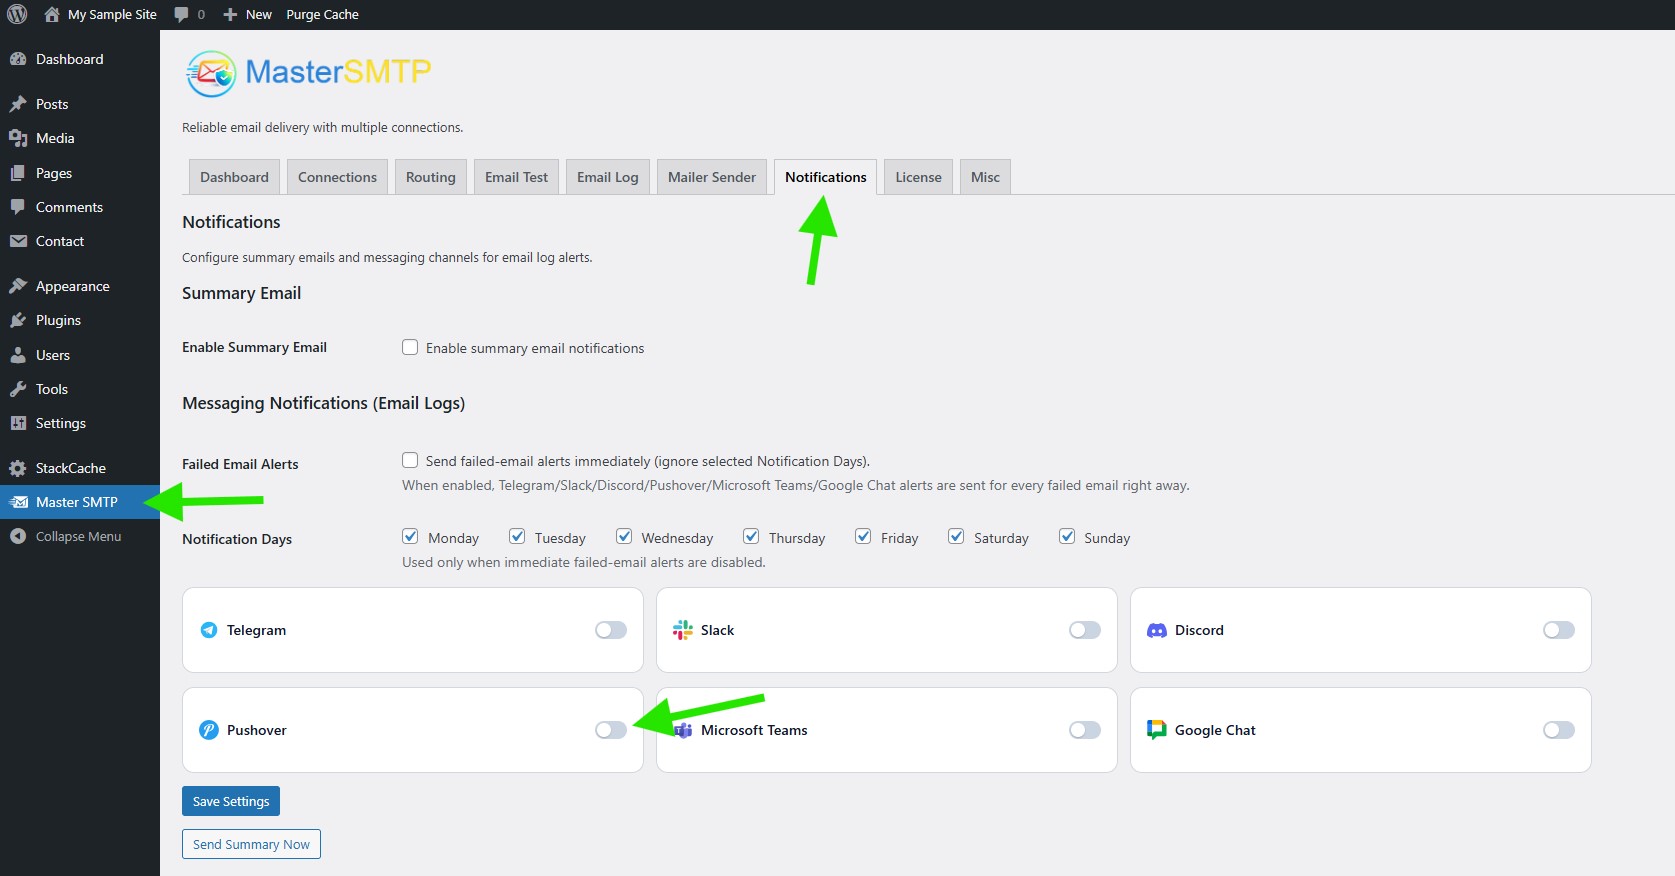
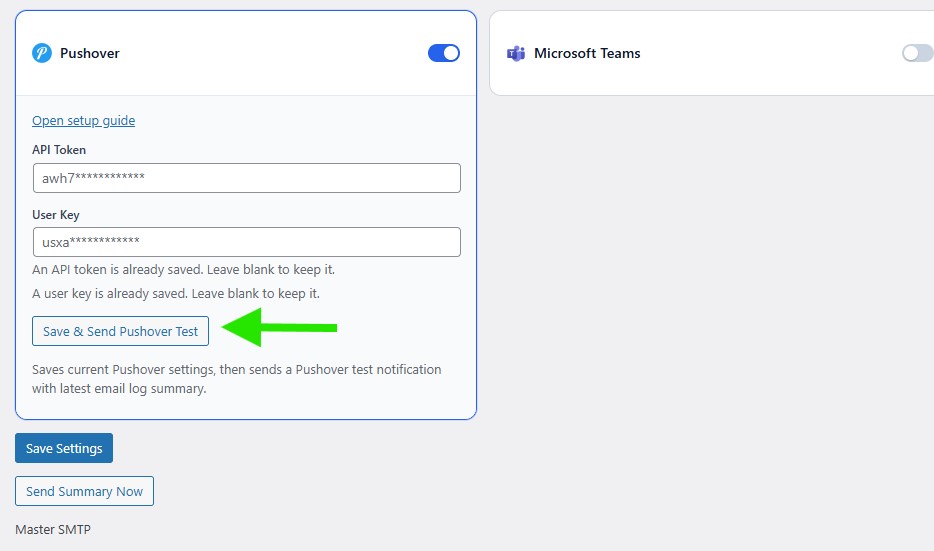
In your WordPress dashboard, go to Master SMTP > Notifications. Then find the Pushover option under Messaging Notifications (Email Logs) and enable it to display the Pushover notification settings.
Enter the API Token
In the API Token field, paste the Application/API Token you copied from your Pushover application page.
Copy and Paste Your User Key
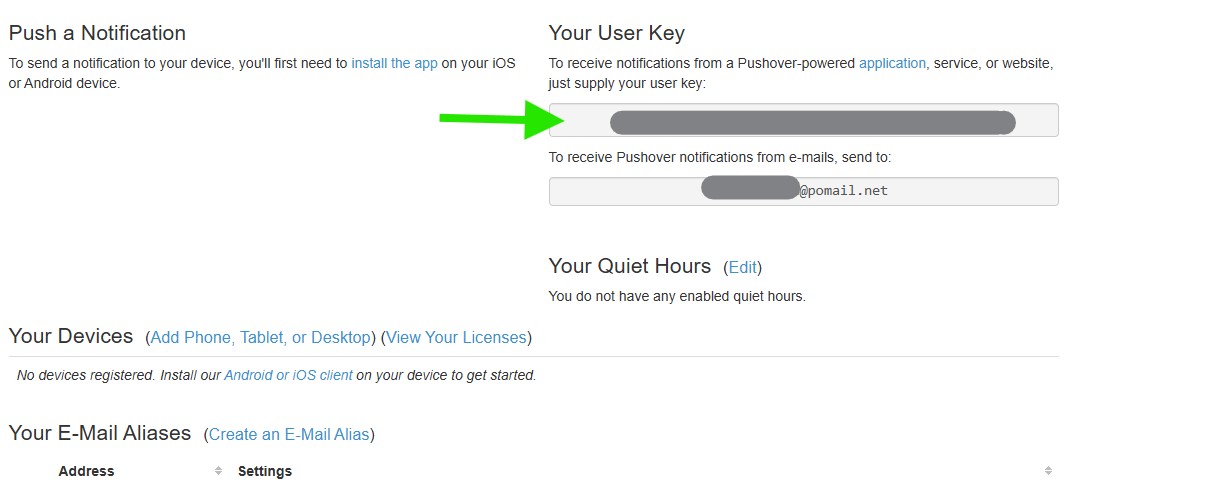
Go to pushover.net and sign in to your Pushover account. On your dashboard, copy the value shown under Your User Key.
Then return to the Master SMTP Pushover settings and paste it into the User Key field.
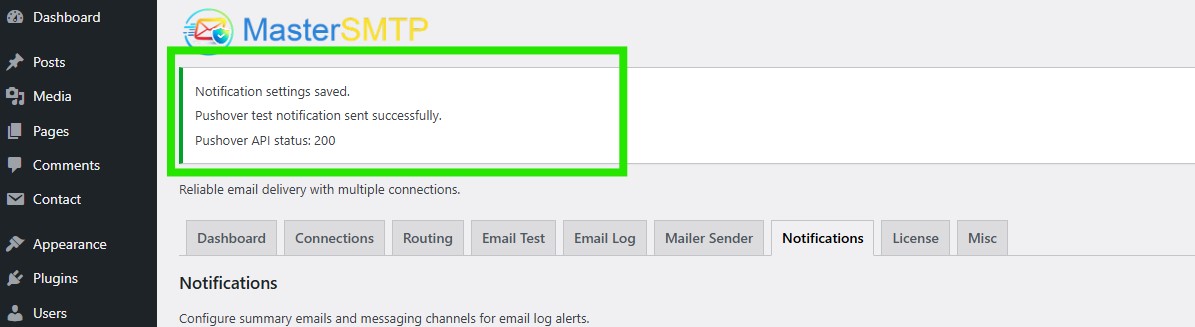
On the same page, you should see a success message confirming that the notification settings were saved and the Pushover test notification was sent successfully. You may also see the Pushover API status code, such as 200, which indicates the request was accepted successfully.
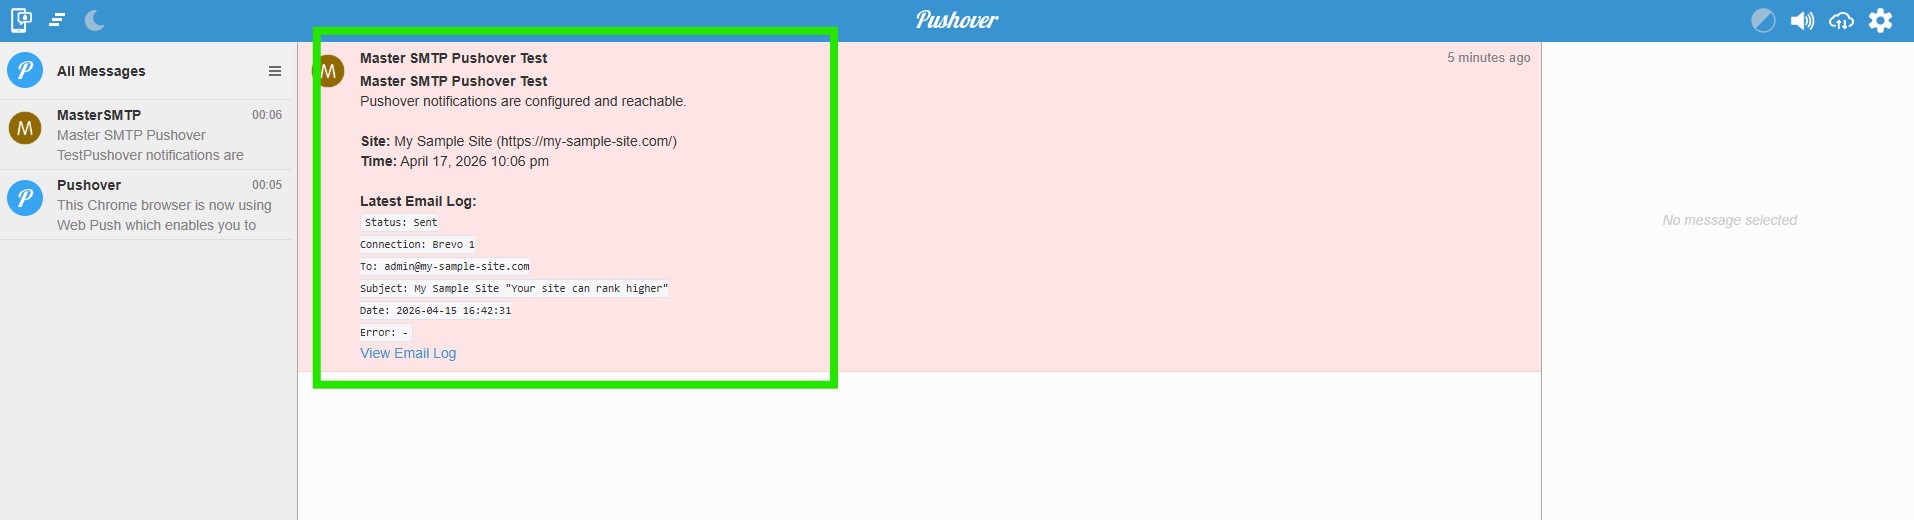
You can see the test message in your Pushover app on the device linked to your account, such as your phone, tablet, or desktop app.
If you do not see the message, first make sure you have installed the Pushover app and added at least one device to your account. In your screenshot, No devices registered is shown, so notifications cannot be delivered yet.
After adding a device, send the test again. The message should appear as a push notification and also inside your Pushover app message list.
Register Pushover for Desktop
To receive Pushover notifications on your desktop, go to pushover.net/clients/desktop. In the Registration section, enter a name for your desktop device, then click Register Web Browser.
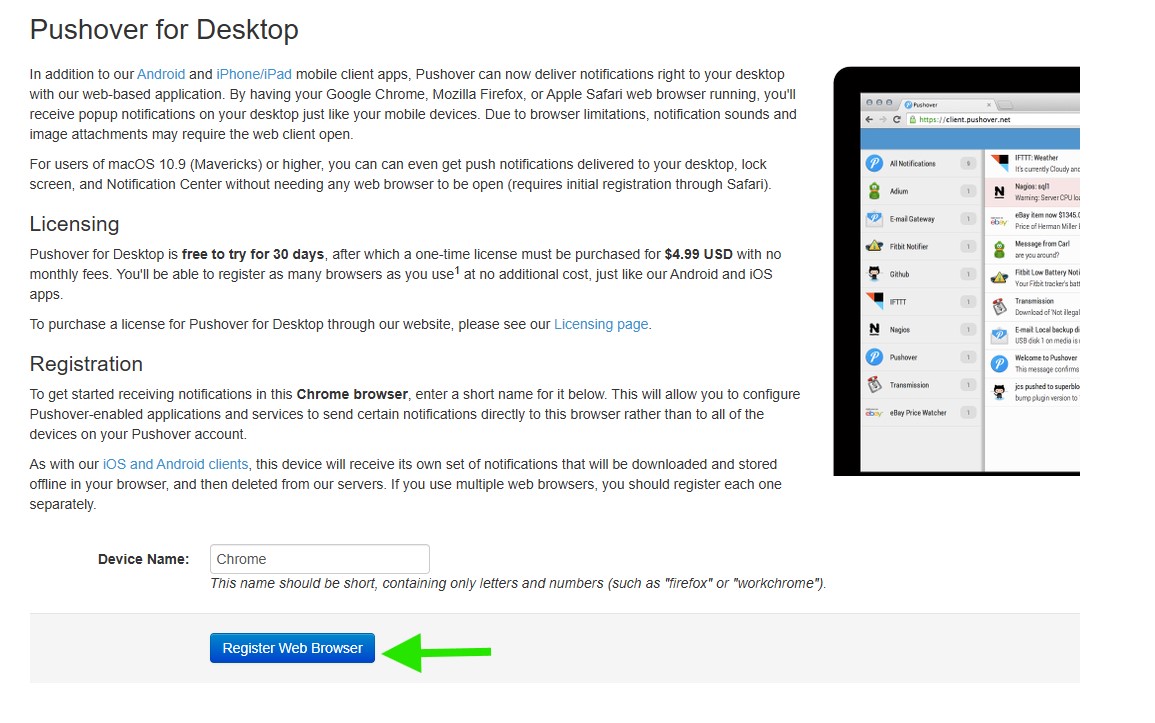
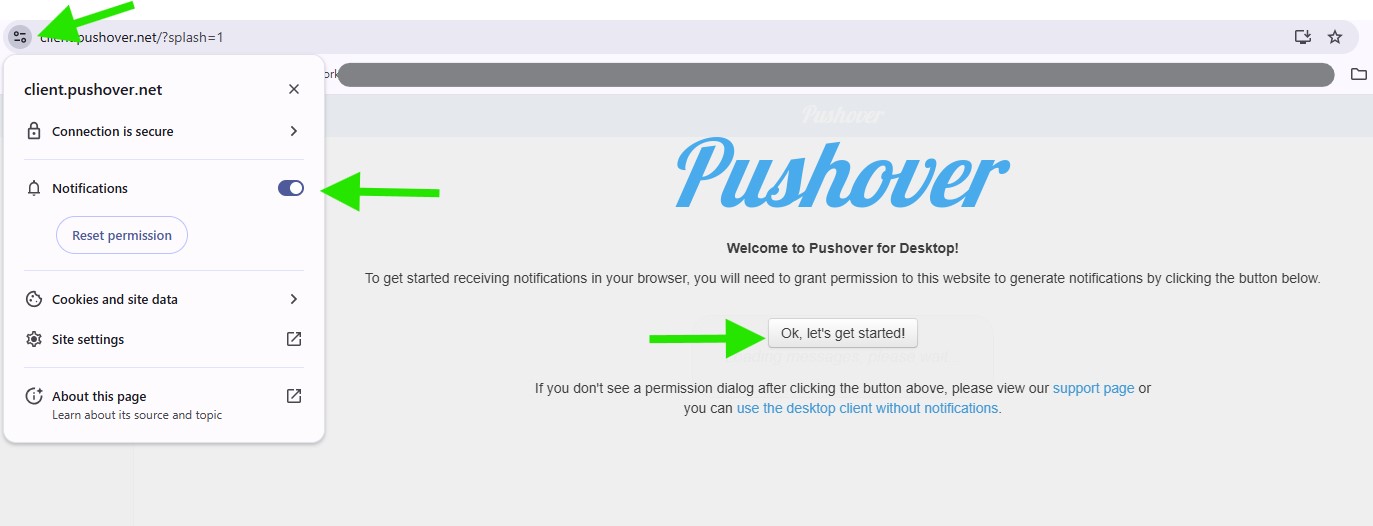
After registering your desktop device, click Ok, let’s get started! to continue. Then allow browser notification permission when prompted, so Pushover can deliver notifications to your desktop browser.
You should now see the test notification sent from the Master SMTP plugin in your Pushover app or desktop client. If you do not see it, return to the Master SMTP Pushover settings and click Save & Send Pushover Test again. The test notification should then appear in your Pushover message list.