Table of Contents
What is MailerSend
MailerSend is a cloud based email delivery service designed for sending transactional emails reliably and securely. It provides SMTP and API options, along with tools for domain verification, sender management, analytics, and email delivery monitoring. In DeliveryKit SMTP, MailerSend can be used as your mailer to help send WordPress emails more consistently and with better deliverability.
Setting Up a MailerSend Account
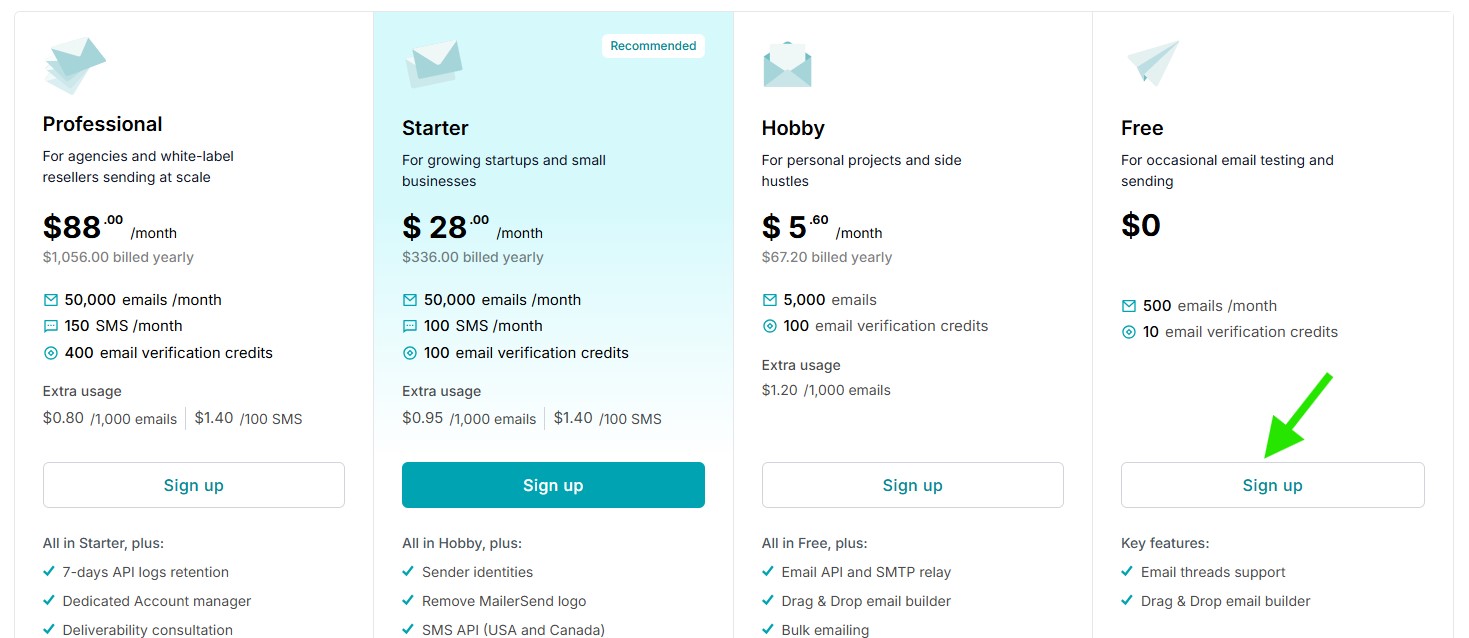
To start, you need to create a MailerSend account if you do not have one already. Visit the MailerSend pricing page and choose the plan that best fits your needs.
In this example, we will use the Free plan. The setup steps are generally the same for other plans as well. Click Sign up under the Free plan to continue.
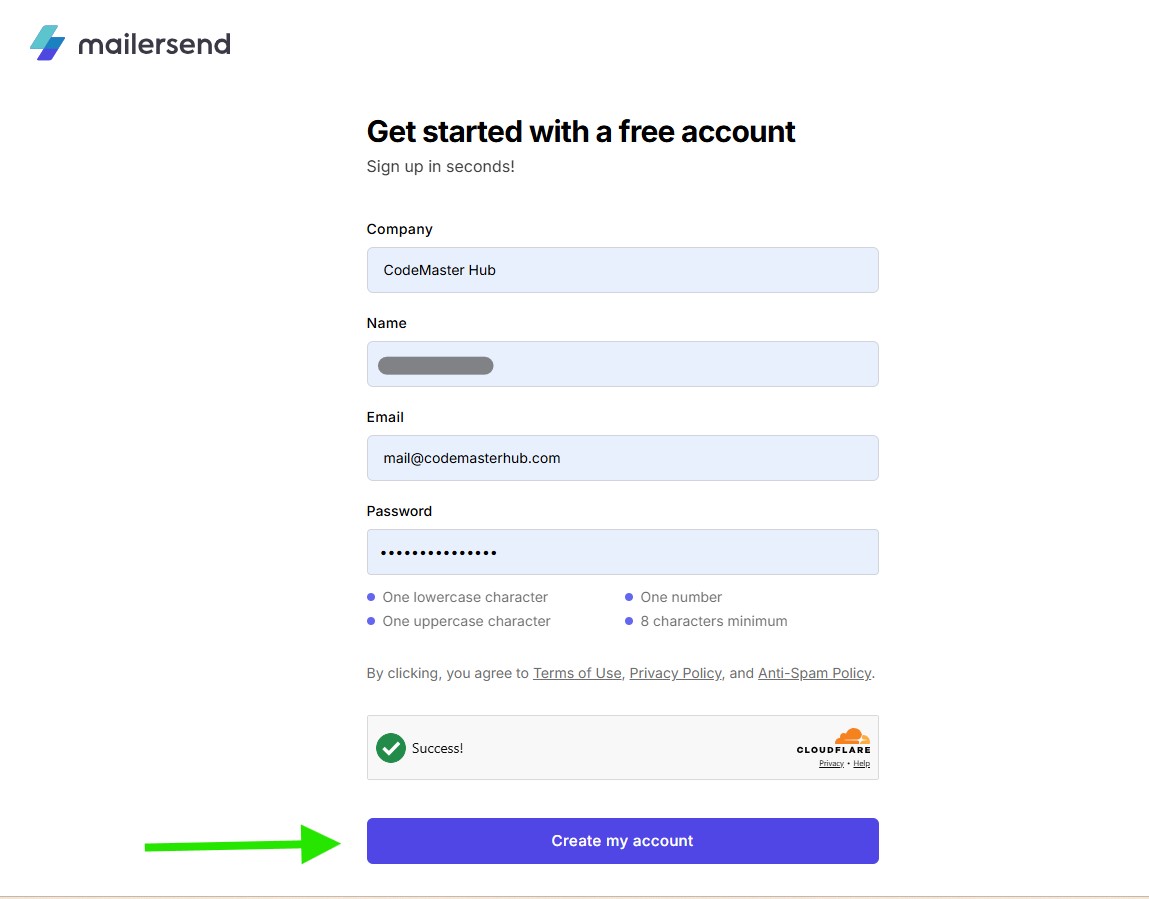
Fill in the signup form with your details, complete the verification step if required, then click Create my account to continue.
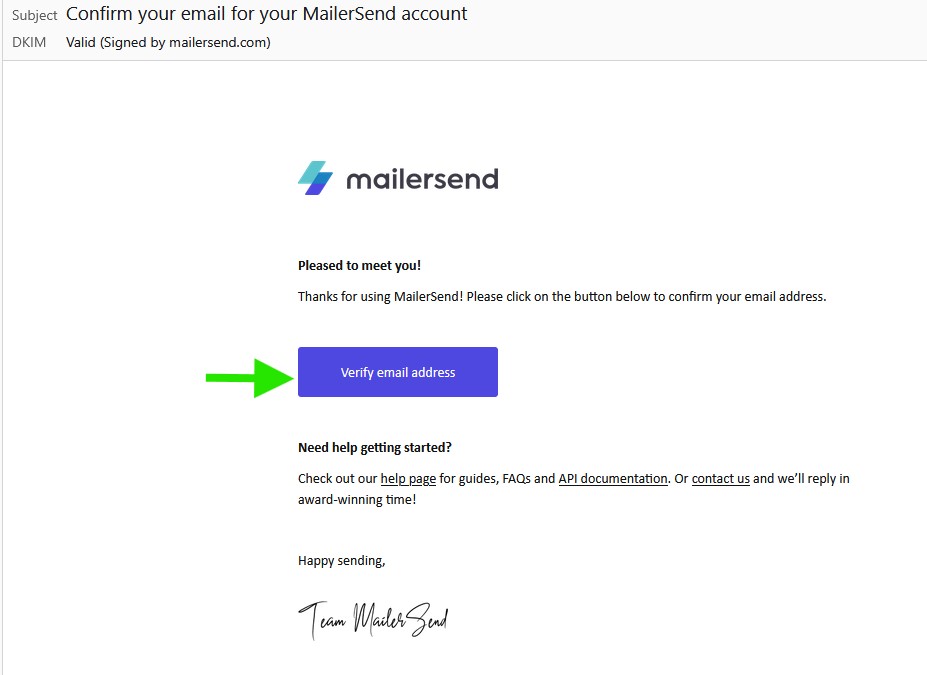
MailerSend will send a confirmation email to the address you used during signup. Open the email, then click Verify email address to confirm your email and activate your account.
Authorizing Your Domain
MailerSend provides test credentials that you can use if you want to try the service before adding your own domain. In this guide, we will skip that and add a sending domain instead. Verifying your sending domain confirms that you own it and helps improve email deliverability.
Adding Your Sending Domain
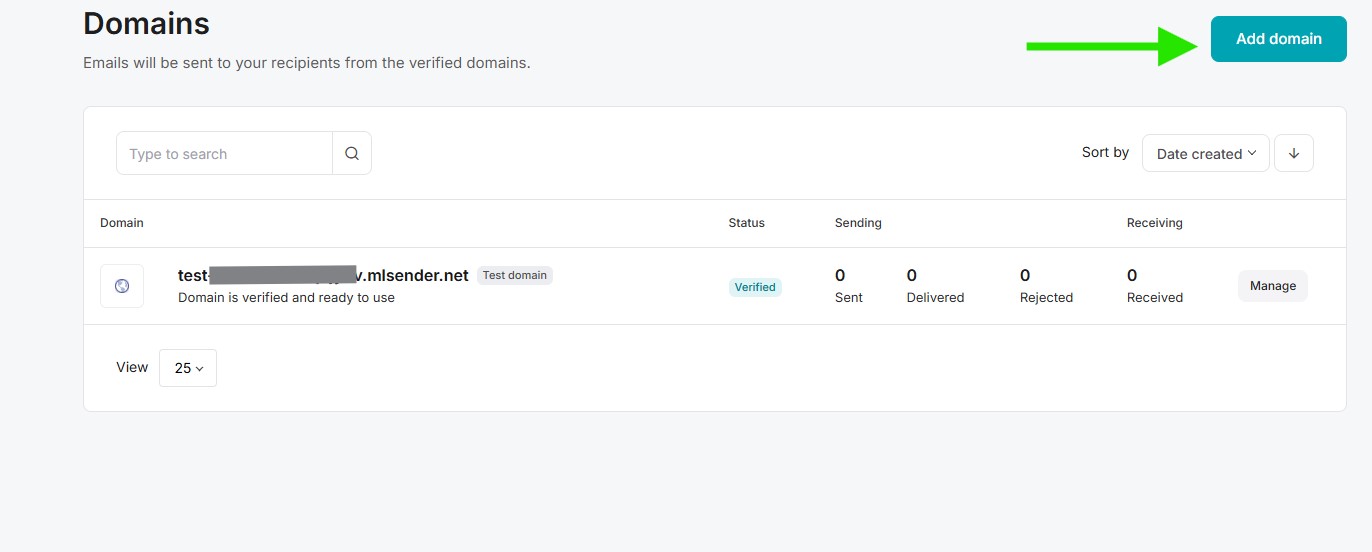
To add your sending domain, log in to your MailerSend account, then go to Email and click Domains.

On the Domains page, click Add domain to start adding your sending domain.
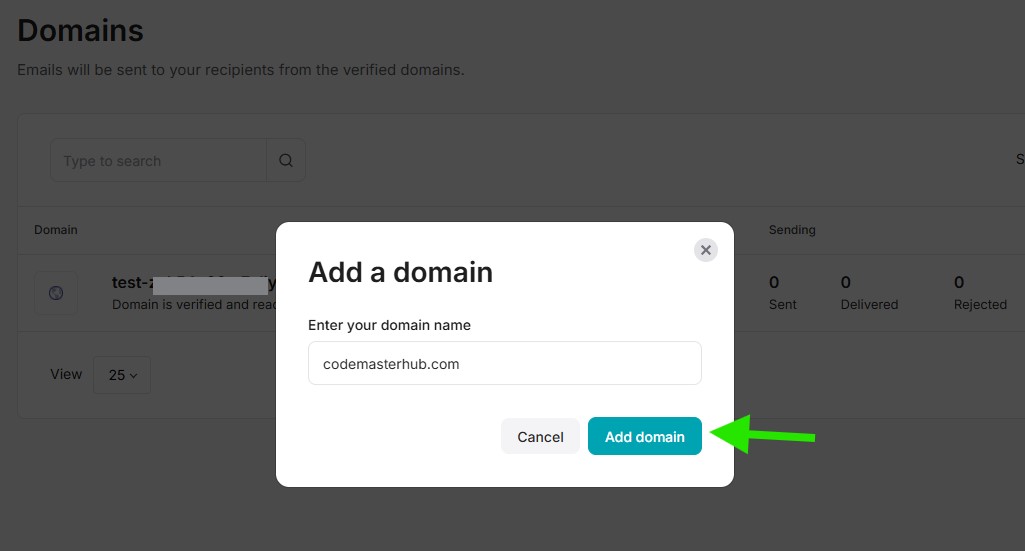
Enter your domain name, then click Add domain to continue.
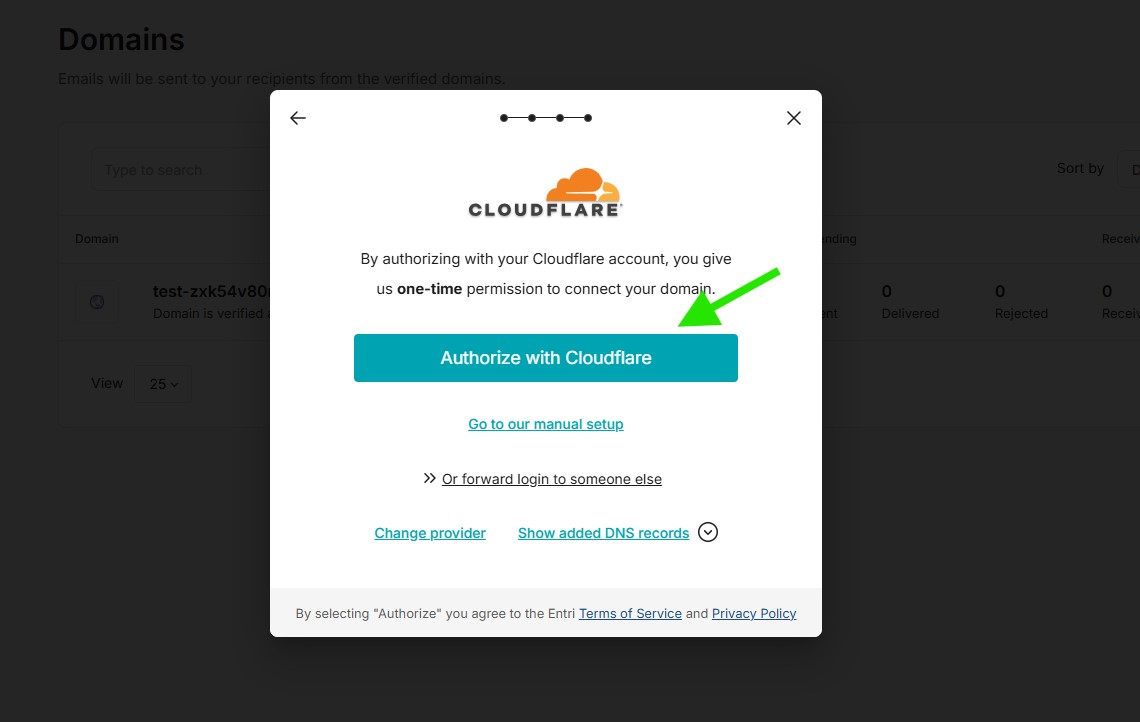
If your DNS provider is supported, you can click Authorize with Cloudflare and let MailerSend add the DNS records automatically. If you prefer to add the records manually, click Show added DNS records, then copy and add those DNS records in your domain DNS settings.
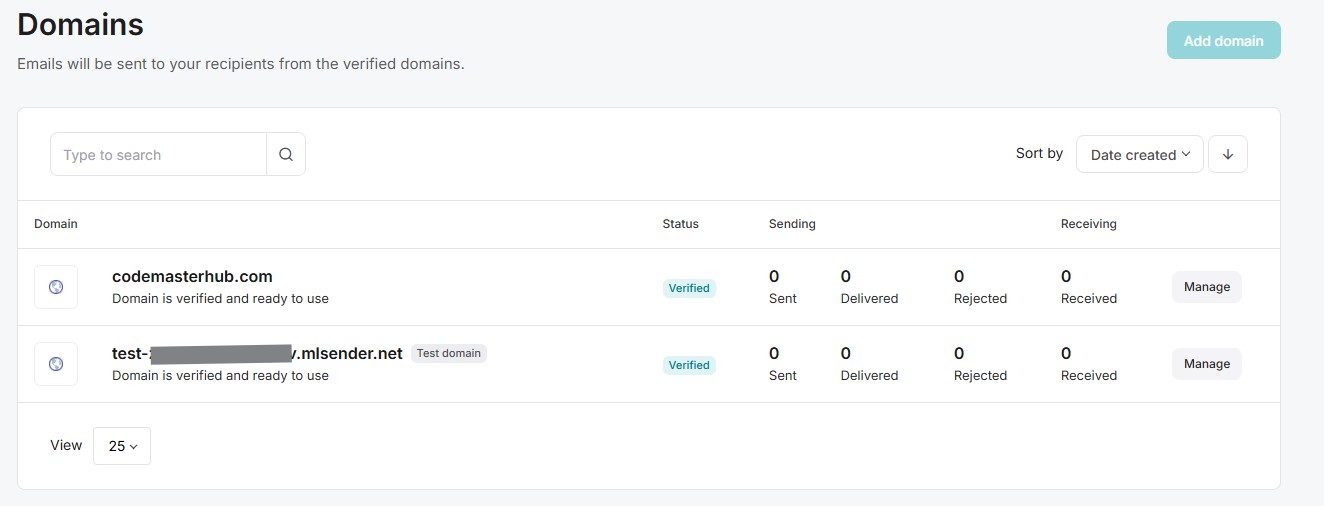
After the required DNS records are added and detected, MailerSend will mark your domain as Verified. Once you see this status, your sending domain is ready to use.
API Key
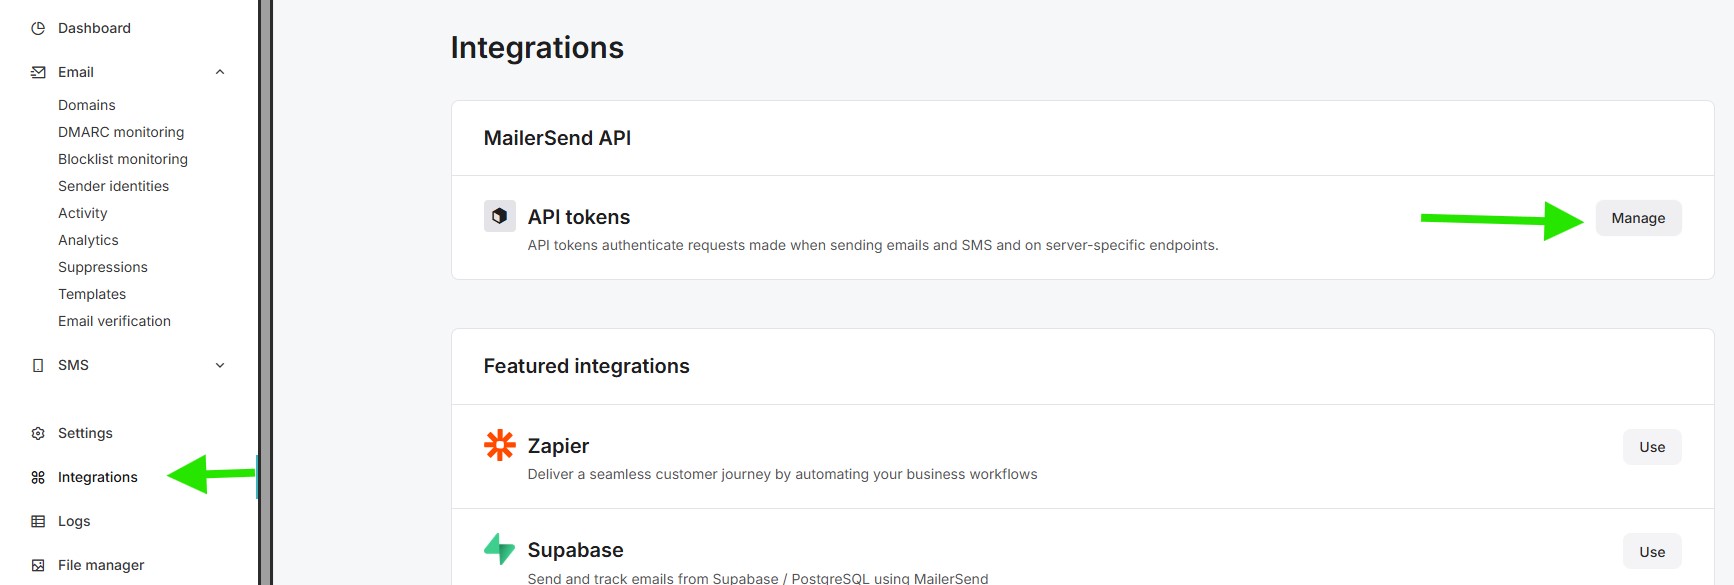
To get your MailerSend API key, go to https://app.mailersend.com/api-tokens. You can also access it from your MailerSend dashboard by going to Integrations, then under MailerSend API, click Manage.
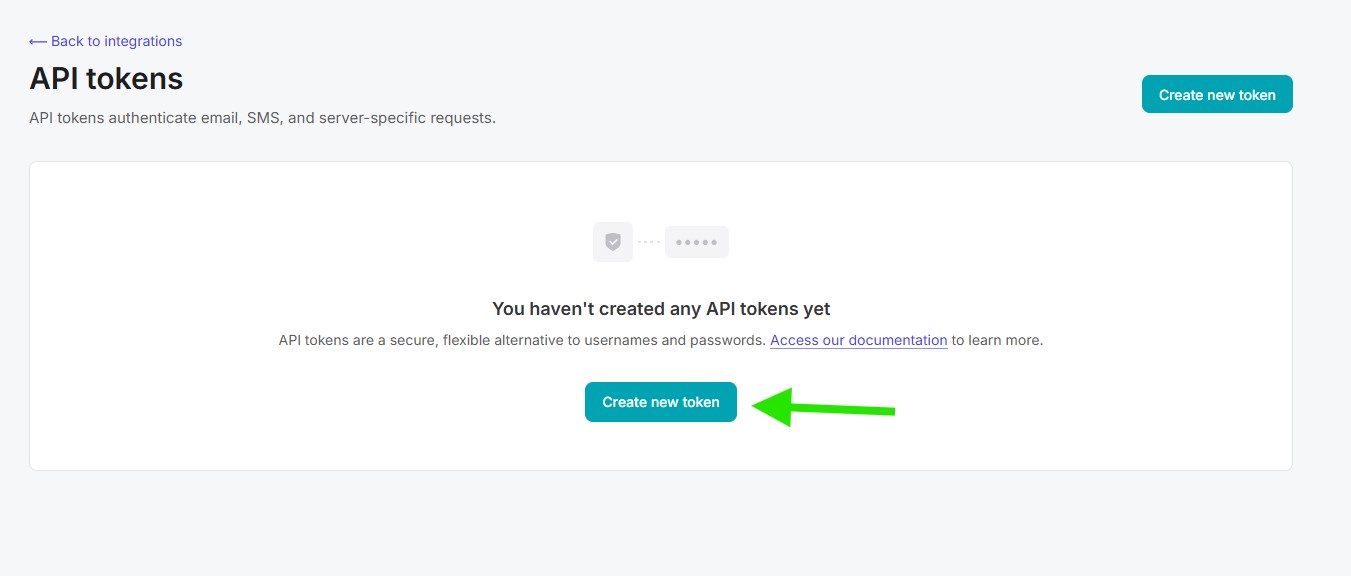
On the API tokens page, click Create new token to generate a new MailerSend API token.
Enter a name for the token, choose the domain you want to use, and select the appropriate permissions. In most cases, Sending access is enough for DeliveryKit SMTP. Then click Generate token.

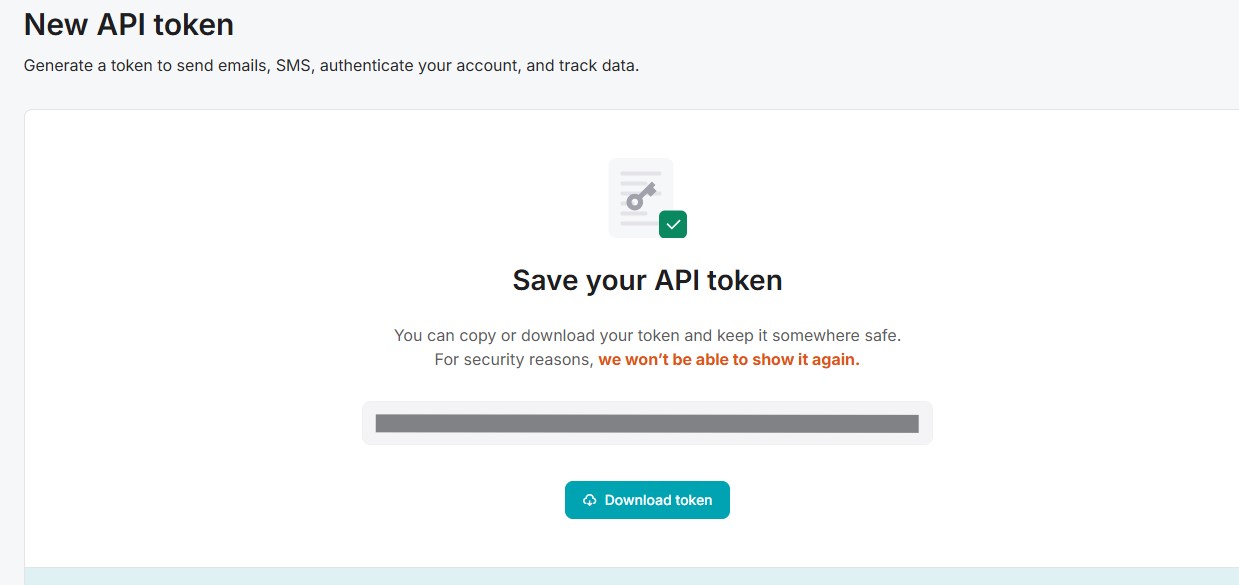
Copy or download the API token and keep it somewhere safe. You will need it in the next step when configuring MailerSend in DeliveryKit SMTP for WordPress.
MailerSend Setup in DeliveryKit SMTP Plugin
In your WordPress dashboard, go to DeliveryKit SMTP > Connections, then click Create New Connection.

Configure Connection
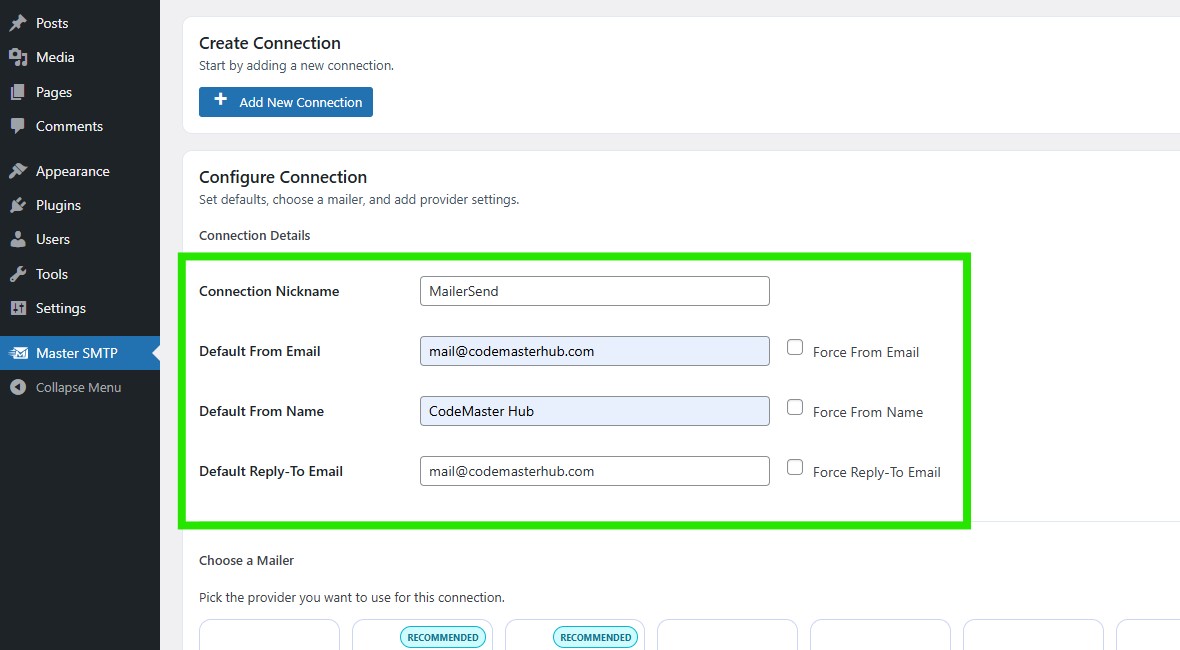
In the Configure Connection section, fill out the Connection Details fields:
Connection Details: Enter a name for this connection. This is only for you, recipients will not see it.
Default From Email: The email address used when an outgoing email does not define a From Email.
Force From Email: If enabled, this From Email will be used for all emails, even if the email has a different From Email.
Default From Name: The name used when an outgoing email does not define a From Name.
Force From Name: If enabled, this From Name will be used for all emails, even if the email has a different From Name.
Default Reply-To Email: The Reply-To address used when an outgoing email does not define a Reply-To Email.
Force Reply-To Email: If enabled, this Reply-To Email will be used for all emails, even if the email has a different Reply-To Email.
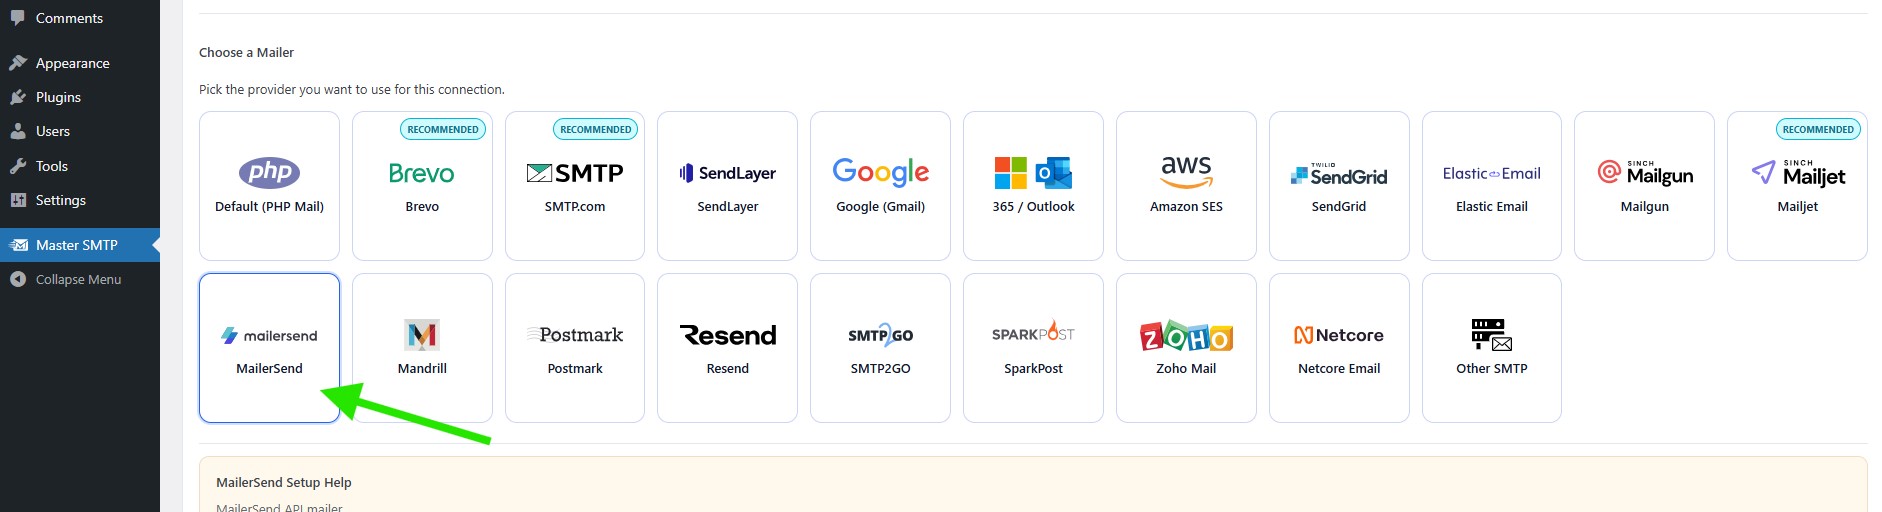
In the Choose a Mailer section, select MailerSend from the grid mailer list.
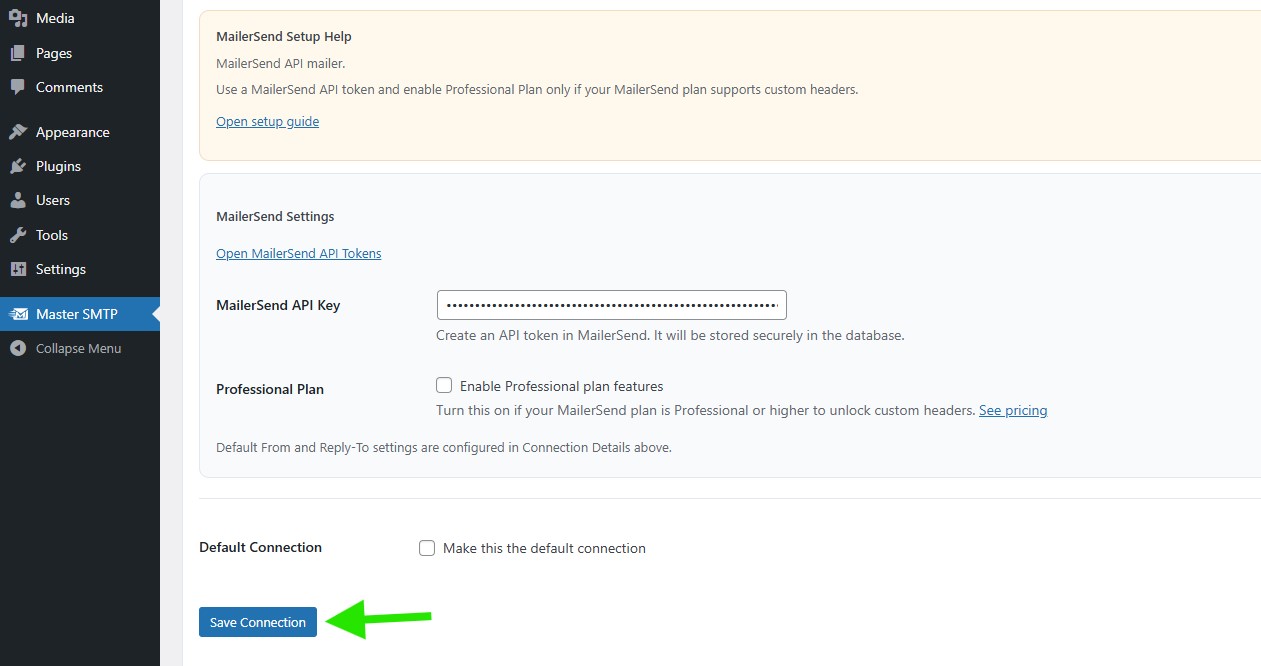
MailerSend Settings
Enter your MailerSend API Key in the matching field. Enable Professional Plan only if your MailerSend account is on a paid plan that supports those features, not on the free plan. If you want to use this connection as the main mailer for your website, check Make this the default connection. Then click Save Connection.
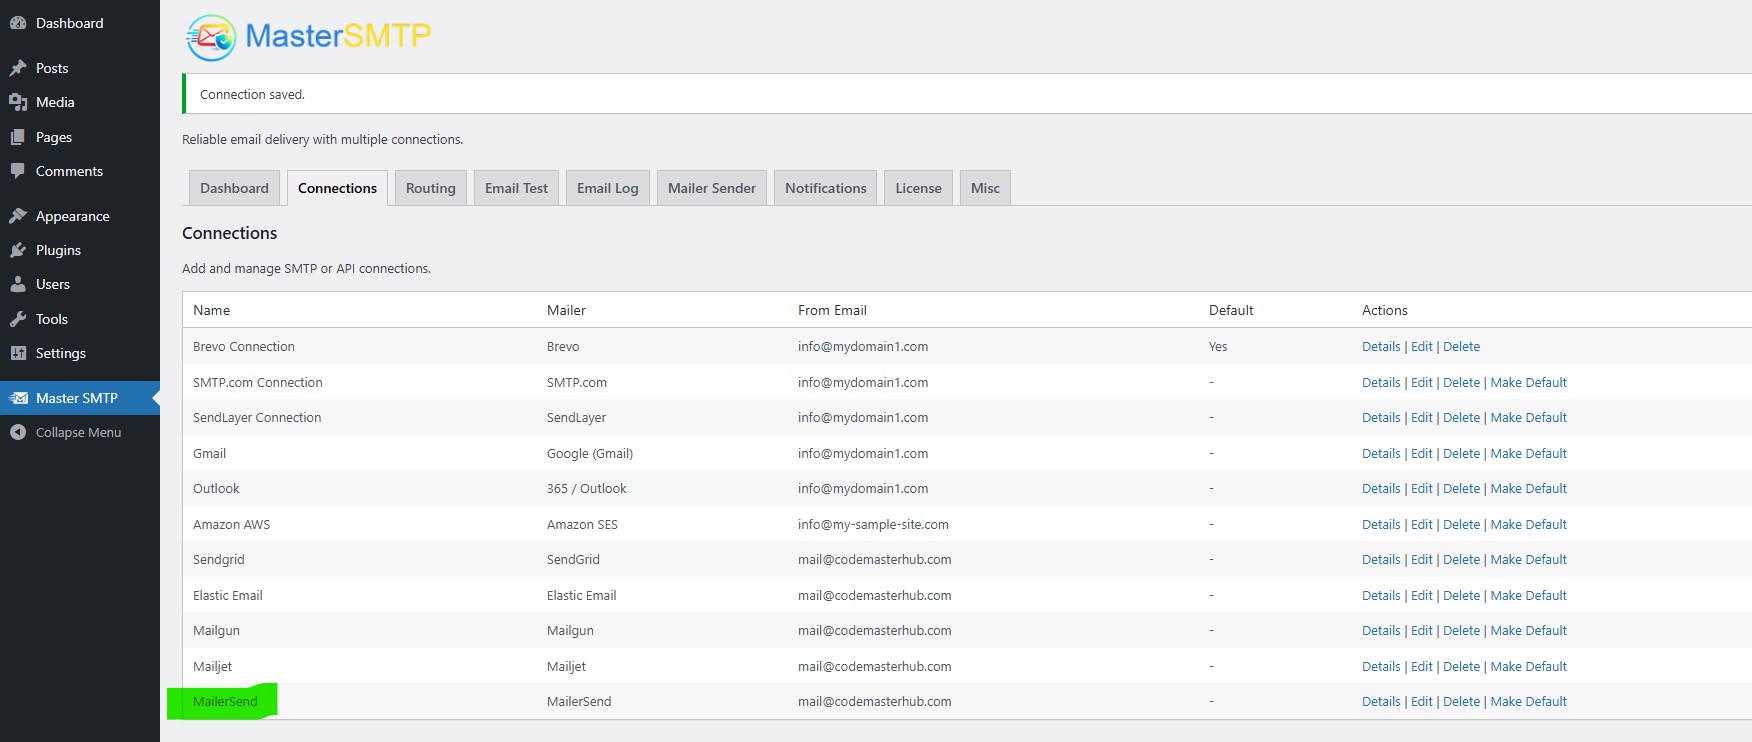
The connection will be added to the Connections list, and you should see Connection saved. at the top of the window.
Note: The free version allows you to add only one connection. If you need multiple connections, Conditional Routing, and many other features, you should purchase the DeliveryKit SMTP Pro.
Test MailerSend Connection
After saving your MailerSend connection, it is recommended to send a test email to make sure everything is working correctly. This helps confirm that your API Token, and connection settings have been entered properly and that your site can send emails successfully through MailerSend SMTP.
For step-by-step instructions, see the test connection guide here: