Table of Contents
What Is Zoho?
Zoho Mail is a business email hosting service that lets you create professional email addresses using your own domain, such as [email protected]. It is designed for organizations that want secure, ad-free email with privacy-focused hosting, encryption in transit and at rest, custom domain support, and an admin console for managing users, aliases, and mail policies.
In addition to standard email hosting, Zoho Mail also includes features like mobile apps, migration tools, calendar and collaboration options, and its Streams feature for team discussions inside the inbox. For businesses using Master SMTP, Zoho Mail can be a good option when you want branded email sending with your own domain and a reliable business mail platform.
Creating a Zoho Mail Account
If you already have a Zoho account, you can sign in and skip this step. To create a new account, go to https://www.zoho.com/mail/ and choose whether you want to sign up for a Business Email or Personal Email account.
In this example, we are creating a Business Email account using a work email address, [email protected]. Enter your name, email address, password, and phone number, accept the terms, then click Sign Up Now to continue.

Verify Your Sign-Up
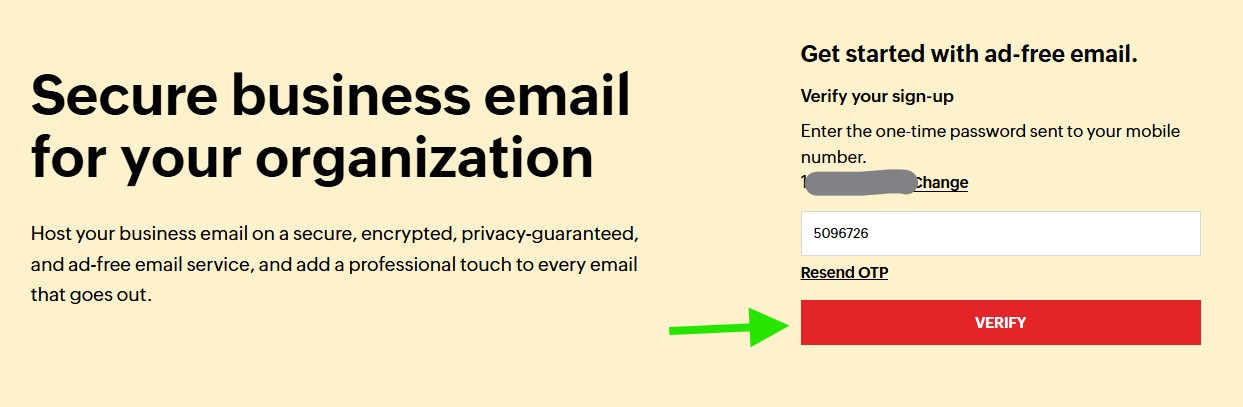
After submitting the sign-up form, Zoho Mail will send a one-time password (OTP) to the mobile number you entered during registration.
Enter the verification code in the OTP field, then click Verify to continue. If needed, you can click Resend OTP to receive a new code.
Verify Your Email Address
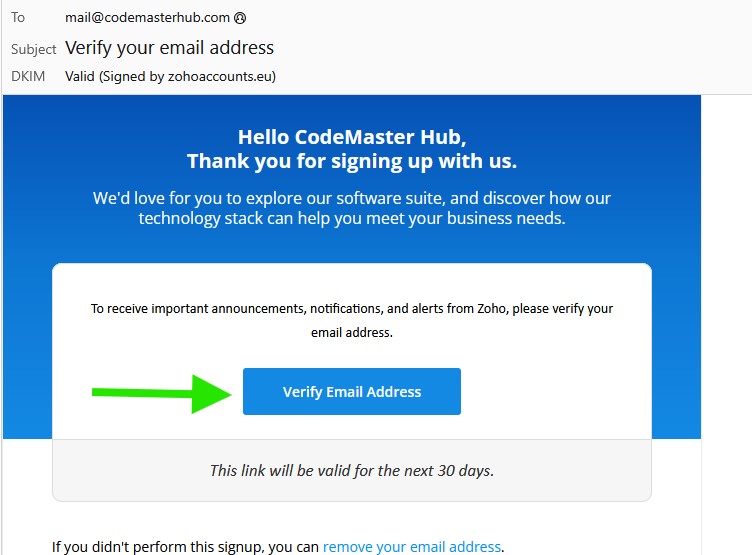
After completing the sign-up process, check your inbox for a verification email from Zoho. Open the email and click Verify Email Address to confirm your email and continue with the account setup.
Confirm the Email Verification
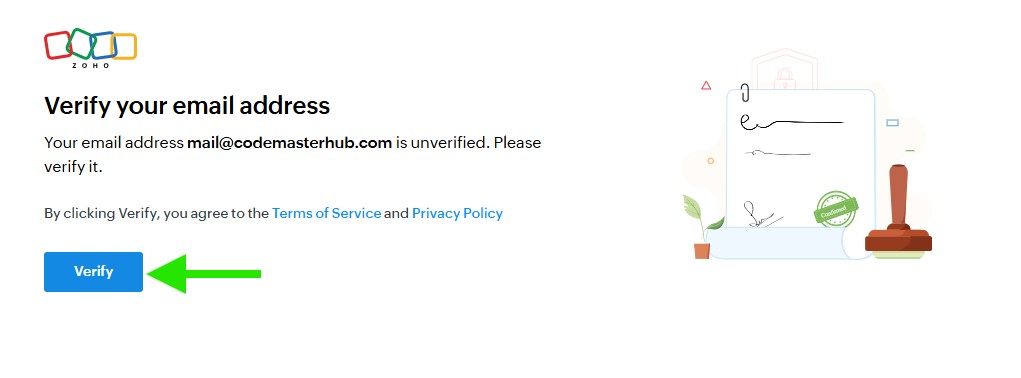
After clicking the verification link in your inbox, you will be redirected to a Zoho confirmation page. Click Verify to confirm your email address and continue with the account setup process.
Access Your Zoho Mail Account
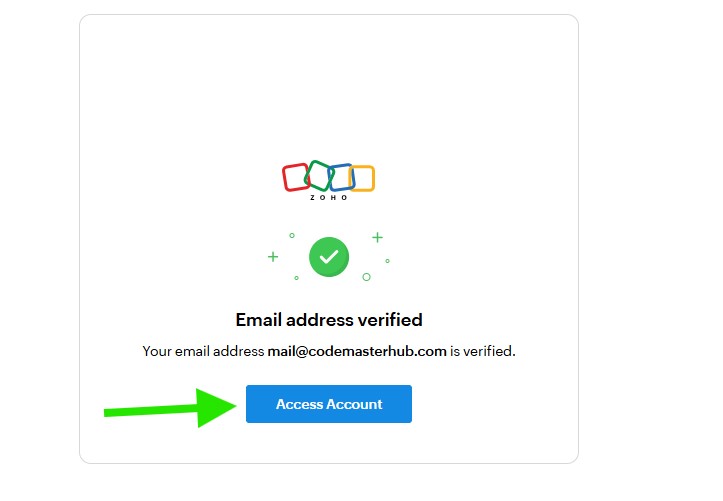
Once your email address is verified, Zoho will show a confirmation screen. Click Access Account to open your Zoho Mail account and continue with the setup.
Open Your Zoho Account Settings
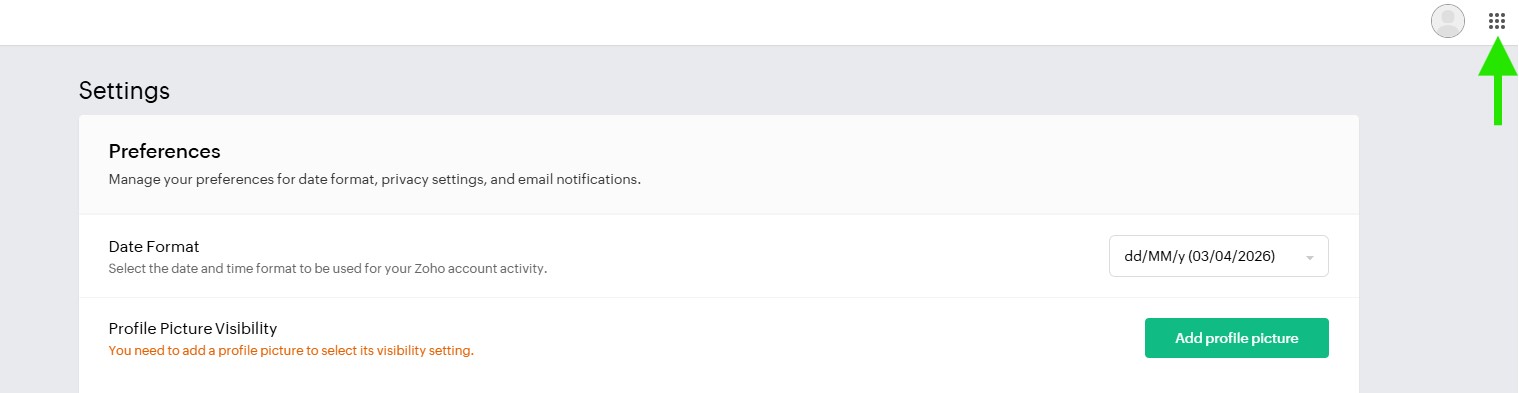
After signing in, click your profile icon in the top-right corner of the page, then click My Account to open your Zoho account settings.

Access Zoho Mail
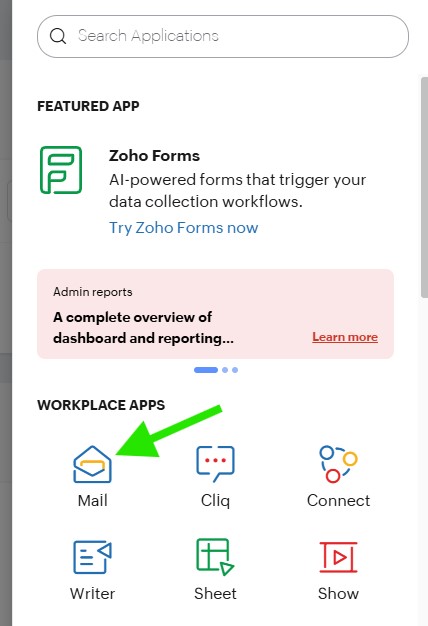
In your Zoho account area, click the apps icon in the top-right corner of the page, then open Mail to access your Zoho Mail dashboard.
Choose a Zoho Mail Plan Type
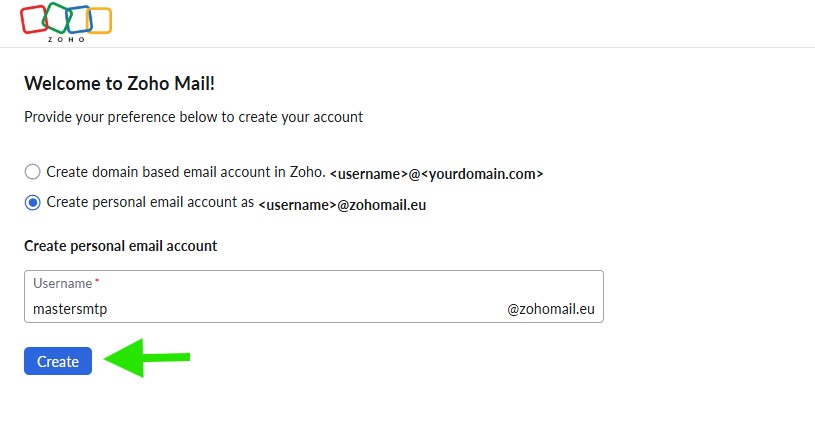
At this step, you can choose between a domain-based business email account or a personal email account.
If you want to use a work email address with your own domain, choose Create domain based email account in Zoho. This option is part of Zoho’s paid plans, and you will be redirected to the pricing page to continue.
If you want to use a free Zoho email address such as @zohomail.eu or @zohomail.com, choose Create personal email account. Then enter your preferred username. For example, if you enter example, your email address will be something like [email protected], depending on your region.
In this example, we are using the free personal email option. Enter your username, then click Create.
Add Your Heading Text Here
Creating a Zoho API Key
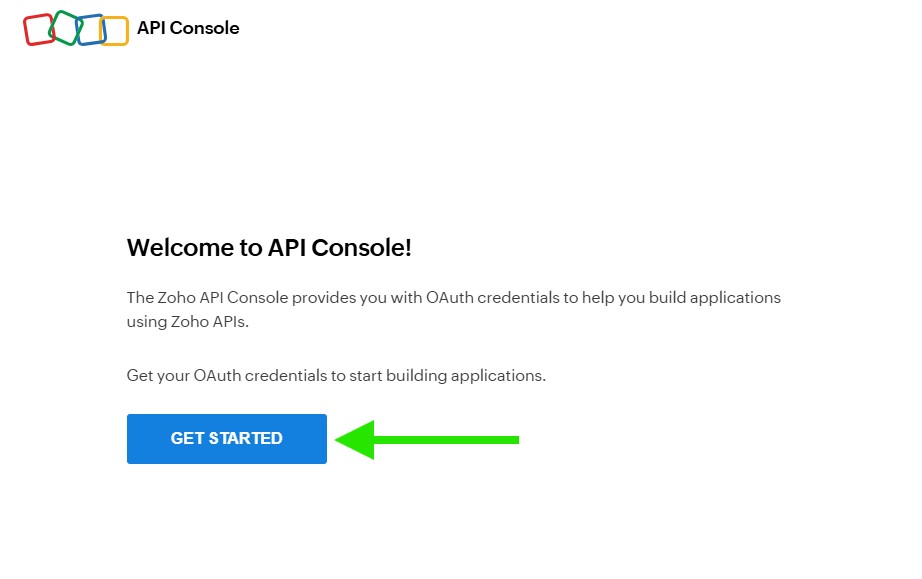
To create your Zoho API key, first visit https://api-console.zoho.com/. If prompted, log in to your Zoho account to continue.
Open the API Console
After logging in, you will be redirected to the Zoho API Console welcome page. Click Get Started to begin creating your OAuth credentials.
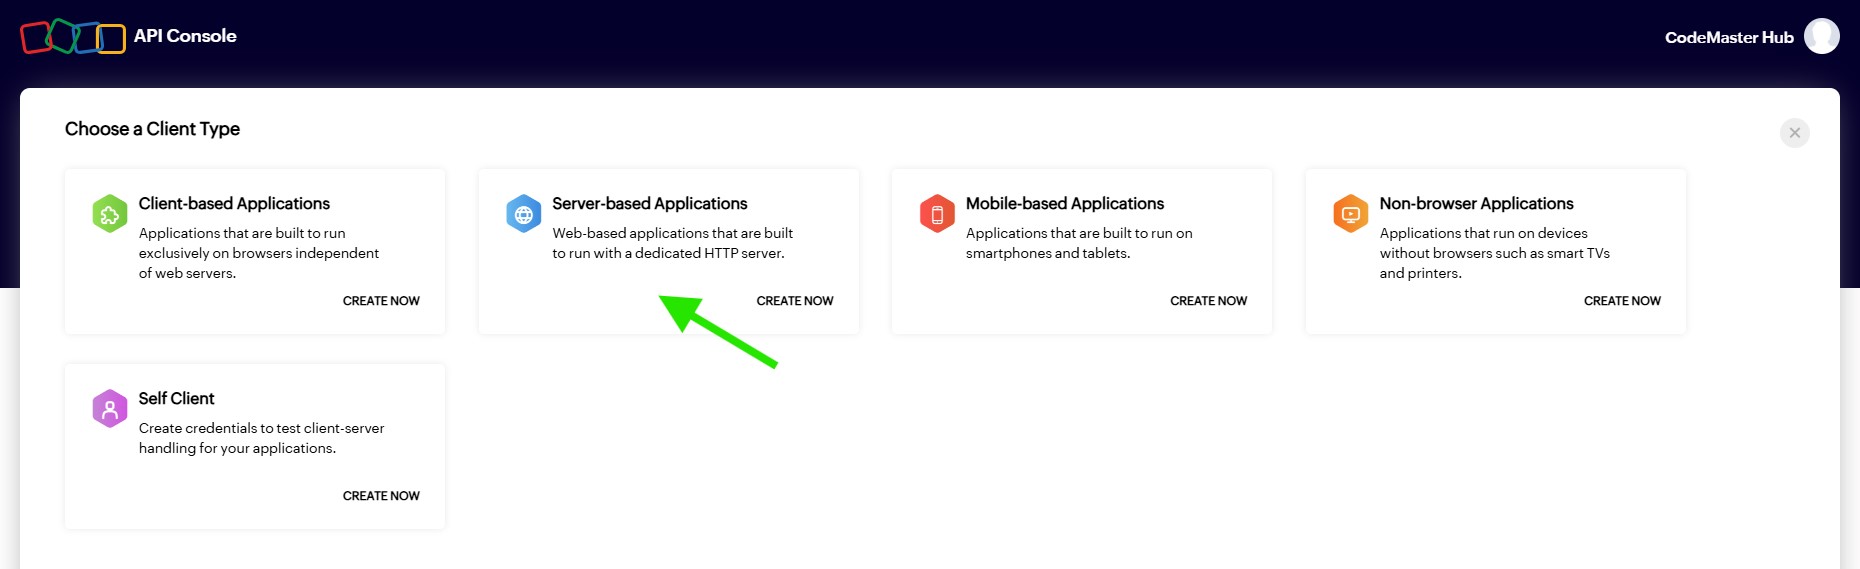
Choose the Client Type
On the Choose a Client Type screen, select Server-based Applications, then click Create Now. This option is suitable for connecting Zoho Mail with the Master SMTP plugin.
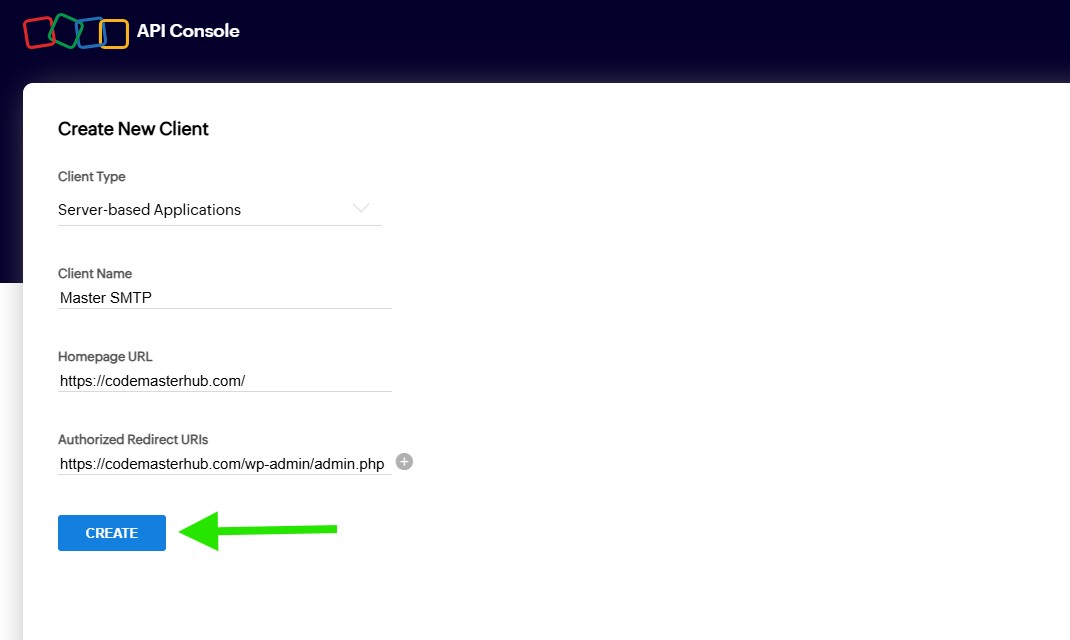
Create a New Client
On the Create New Client screen, enter a clear name in the Client Name field. In Homepage URL, enter your website homepage URL. In Authorized Redirect URIs, enter your WordPress admin URL ending with /wp-admin/admin.php, then click Create.
Note: You can also copy the correct redirect URL directly from your WordPress dashboard. Go to Master SMTP >> Connections >> Add New Connection, select Zoho Mail as the mailer, then copy the URL shown in the Authorized Redirect URI field and paste it here.
You may be asked to enter your Zoho account password again to confirm this action. Enter your password, then click Confirm Password to continue.
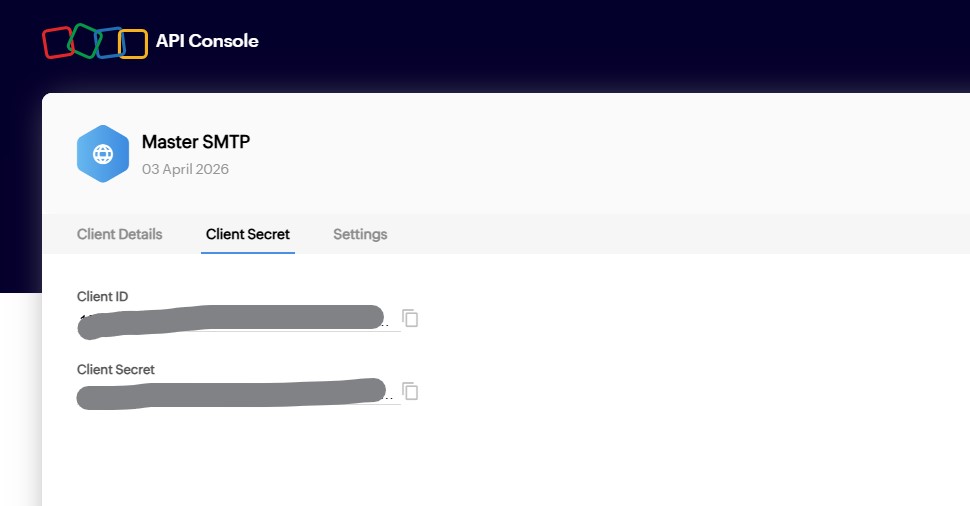
Copy Your Client ID and Client Secret
After the client is created, open the Client Secret tab. Copy the Client ID and Client Secret, then save them somewhere safe. You will need both of these values when configuring Zoho Mail in the Master SMTP plugin in WordPress.
Zoho Mail Setup in Master SMTP Plugin
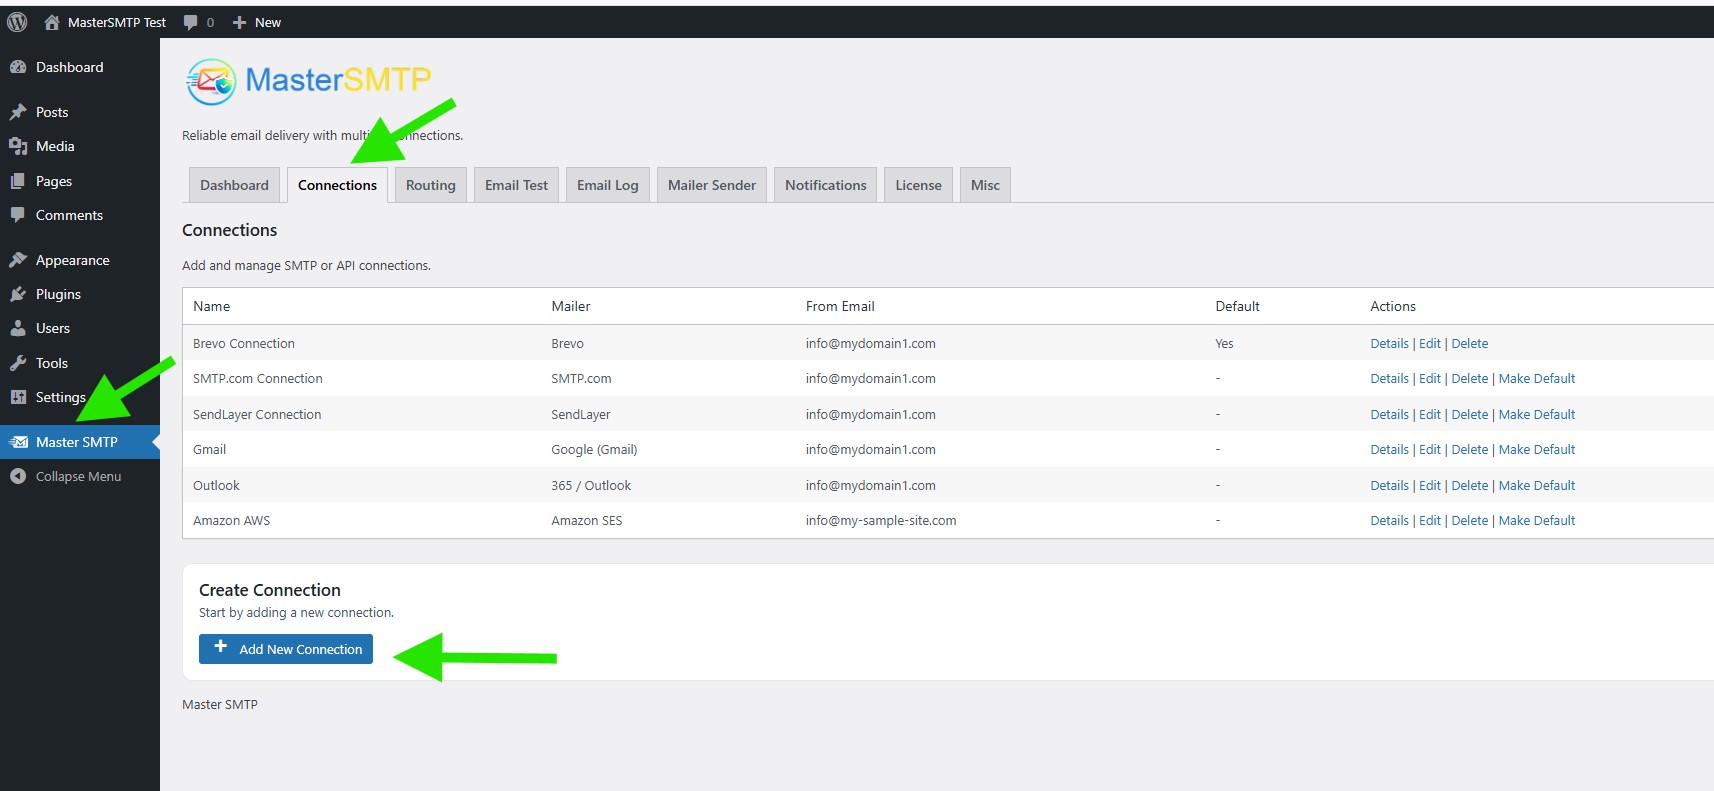
In your WordPress dashboard, go to Master SMTP > Connections, then click Create New Connection.
Configure Connection
In the Configure Connection section, fill out the Connection Details fields:
Connection Details: Enter a name for this connection. This is only for you, recipients will not see it.
Default From Email: The email address used when an outgoing email does not define a From Email.
Force From Email: If enabled, this From Email will be used for all emails, even if the email has a different From Email.
Default From Name: The name used when an outgoing email does not define a From Name.
Force From Name: If enabled, this From Name will be used for all emails, even if the email has a different From Name.
Default Reply-To Email: The Reply-To address used when an outgoing email does not define a Reply-To Email.
Force Reply-To Email: If enabled, this Reply-To Email will be used for all emails, even if the email has a different Reply-To Email.
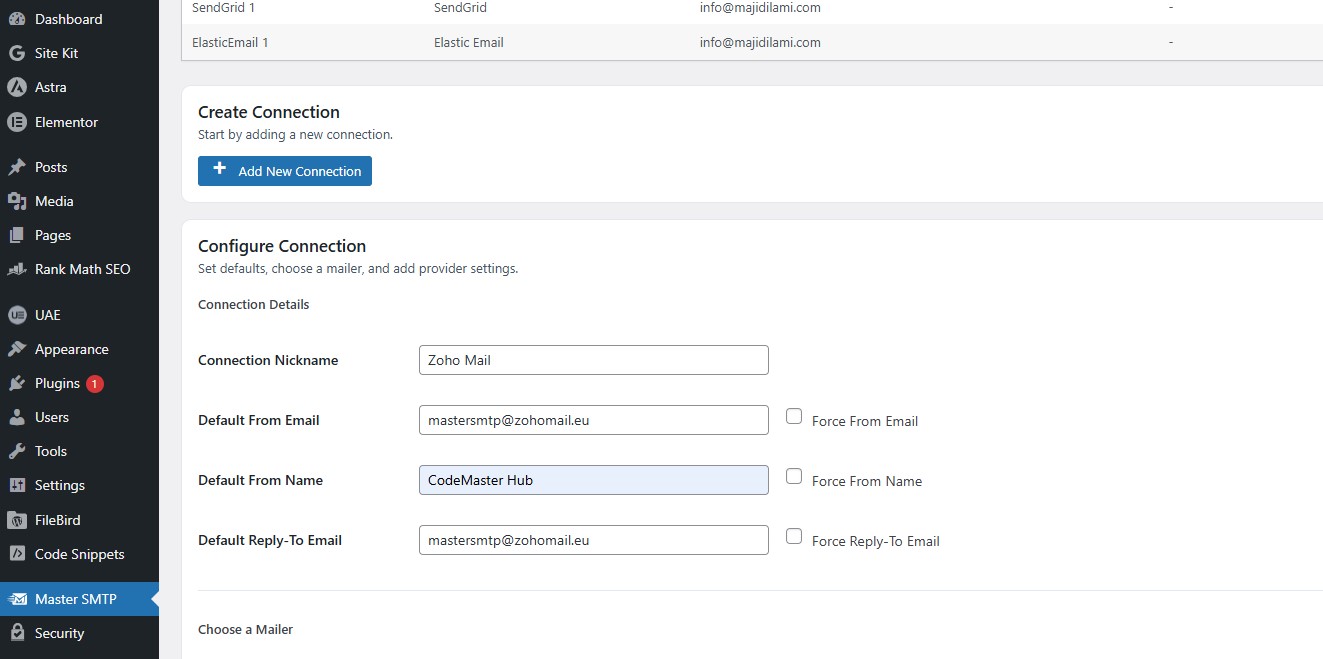
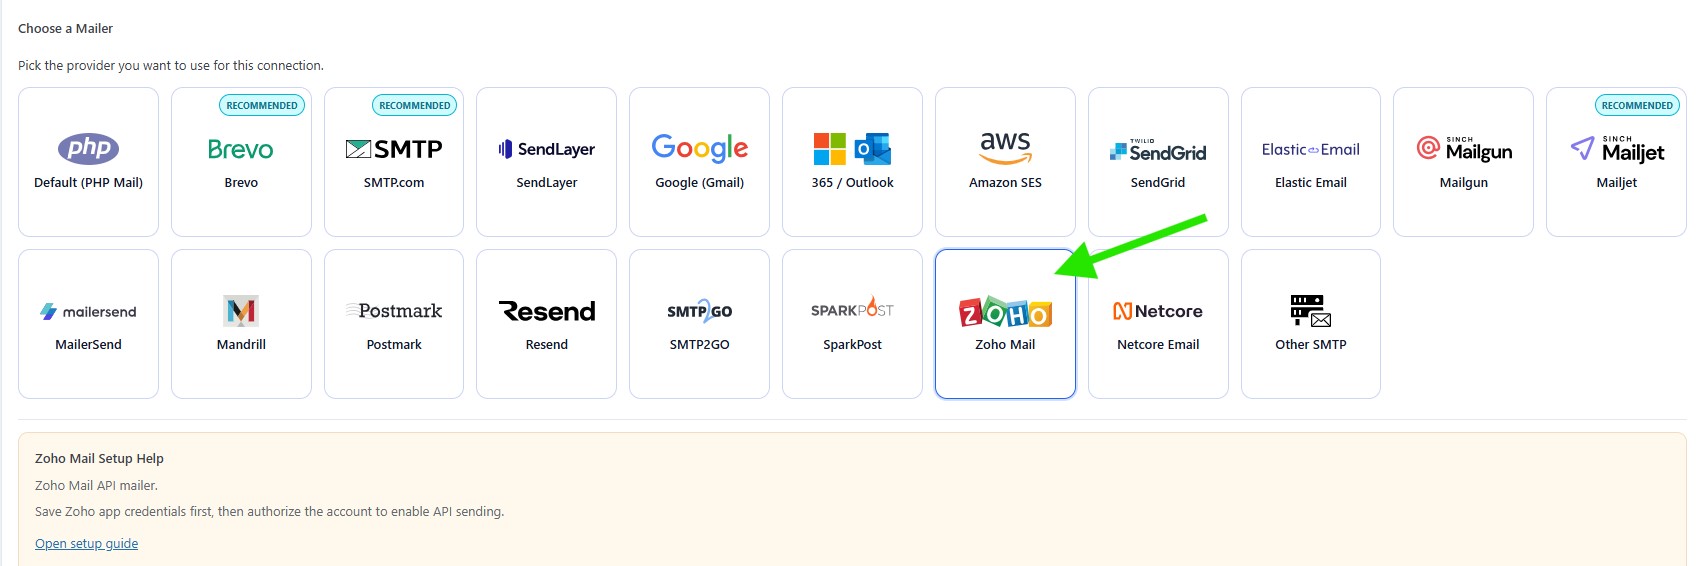
In the Choose a Mailer section, select Zoho Mail from the grid mailer list.
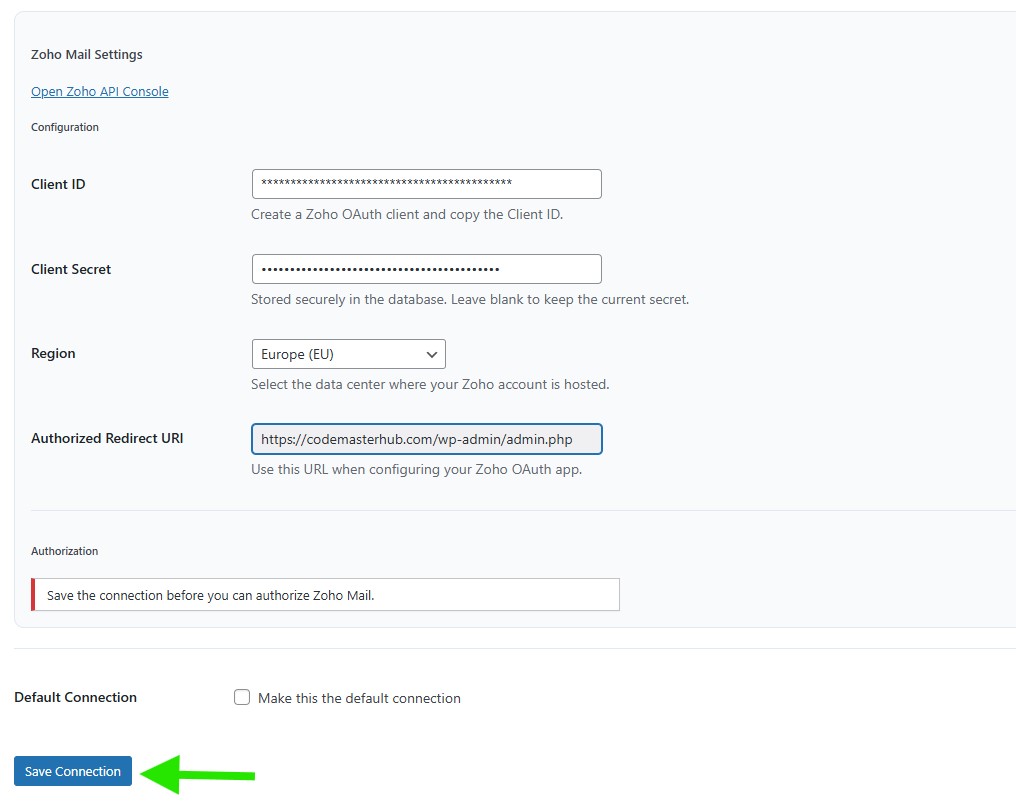
Zoho Mail Settings
In the Zoho Mail Settings section, enter your Client ID and Client Secret, then choose the correct Region for your Zoho account.
After that, click Save Connection. Once the connection is saved, the Authorization button will appear so you can continue connecting your Zoho Mail account.
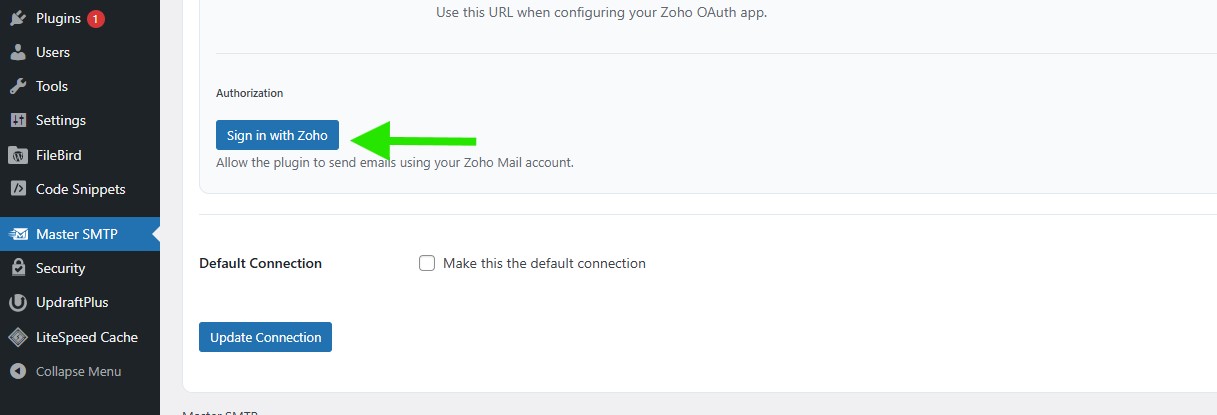
Authorization
In the Authorization section, click Sign in with Zoho to authorize Master SMTP to send emails using your Zoho Mail account.
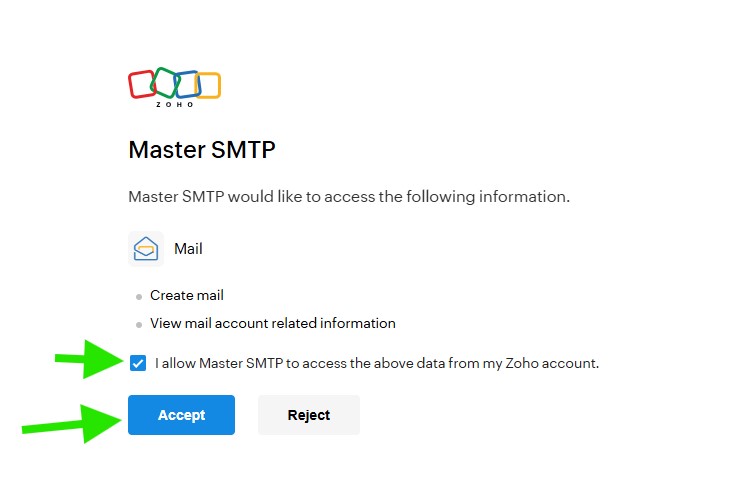
Approve the Authorization Request
Zoho will open a permission screen showing what Master SMTP can access. Review the requested permissions, keep the consent checkbox enabled, then click Accept to complete the authorization.
The connection will be added to the Connections list, and you should see Connection saved. at the top of the window.
Note: The free version allows you to add only one connection. If you need multiple connections, Conditional Routing, and many other features, you should purchase the Master SMTP Pro.
Test Zoho Mail Connection
After saving your Zoho Mail connection, it is recommended to send a test email to make sure everything is working correctly. This helps confirm that your connection settings have been entered properly and that your site can send emails successfully through Zoho Mail SMTP.
For step-by-step instructions, see the test connection guide here: