Table of Contents
What is Mailer Sender?
Mailer Sender is a built in tool in Master SMTP that lets you send manual emails directly from your WordPress dashboard. You can create and send emails using ready templates, add recipients, attachments, and custom content, then validate the details before sending. It is useful for testing your mail setup, sending quick messages, or creating one time emails without leaving your site.
Open Mailer Sender
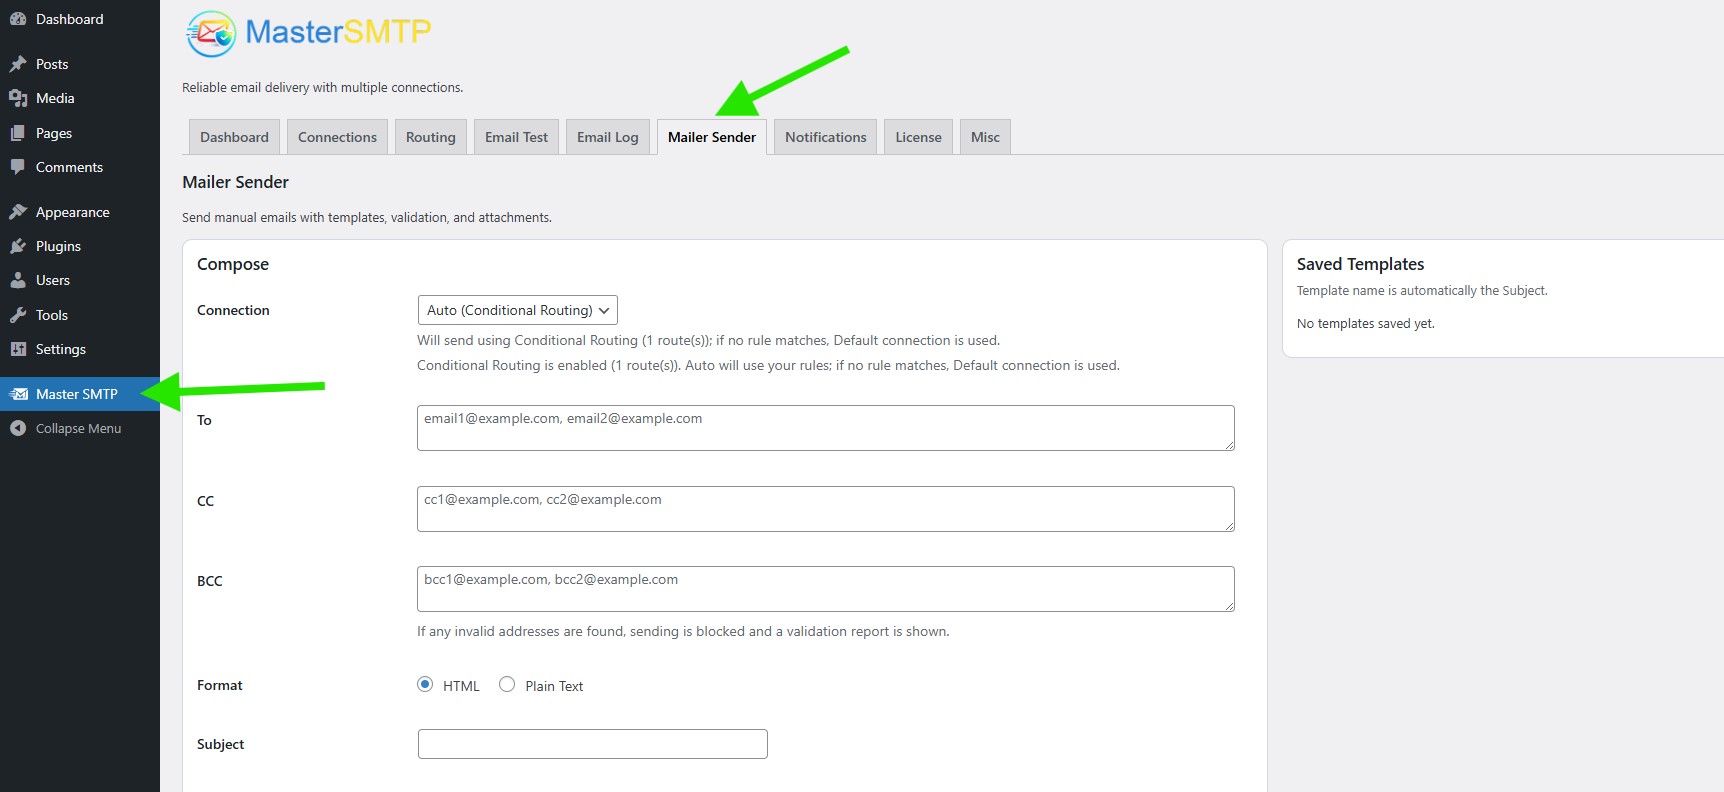
In your WordPress dashboard, go to Master SMTP > Mailer Sender.
This opens the Mailer Sender screen, where you can compose and send manual emails with templates, validation, and attachments.
Create a Manual Email
Mailer Sender lets you create a manual email directly inside your WordPress dashboard. You can choose how the message should be sent, add recipients, write the subject and content, attach files, and use or save templates for future use. This makes it easy to prepare and send one time emails without leaving your site.
Compose
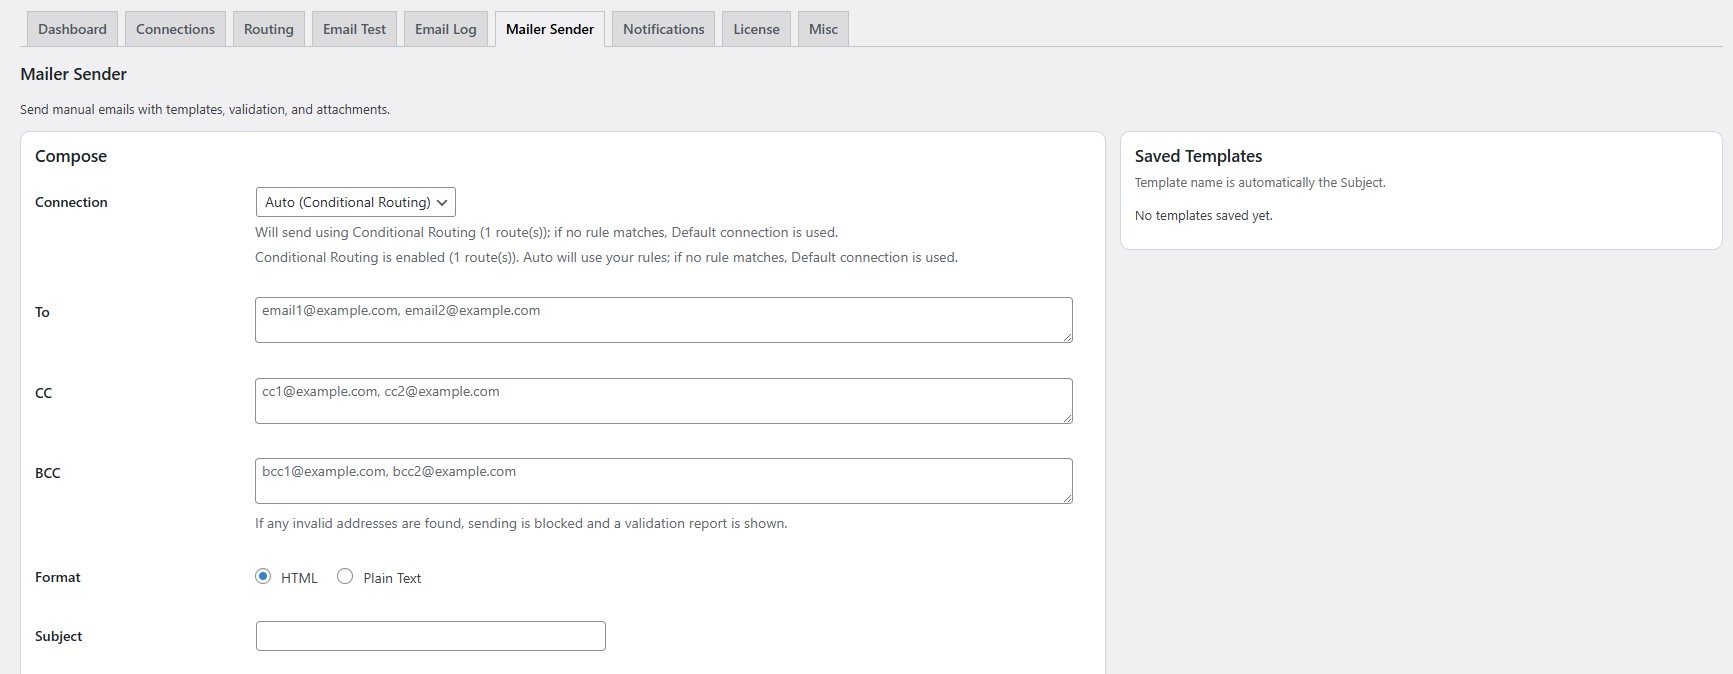
The Compose section is where you create your manual email. Each field helps you control how the message will be sent and who will receive it.
Connection: Select the mailer connection that should send this email. If you choose Auto (Conditional Routing), Master SMTP will try to match your routing rules first, and if no rule matches, it will use the default connection.
To: Enter the main recipient email address or multiple addresses. If you add more than one, separate them with commas.
CC: Add carbon copy recipients here. These recipients will receive the email, and other recipients can also see them.
BCC: Add blind carbon copy recipients here. These recipients will receive the email, but their addresses will not be visible to other recipients.
Address Validation Notice: If any invalid email address is detected in the recipient fields, sending will be blocked and a validation report will be shown.
Format: Choose the email format. Select HTML if you want to send a styled email, or Plain Text if you want to send a simple text only message.
Subject: Enter the subject line for your email. This is the title recipients will see in their inbox.
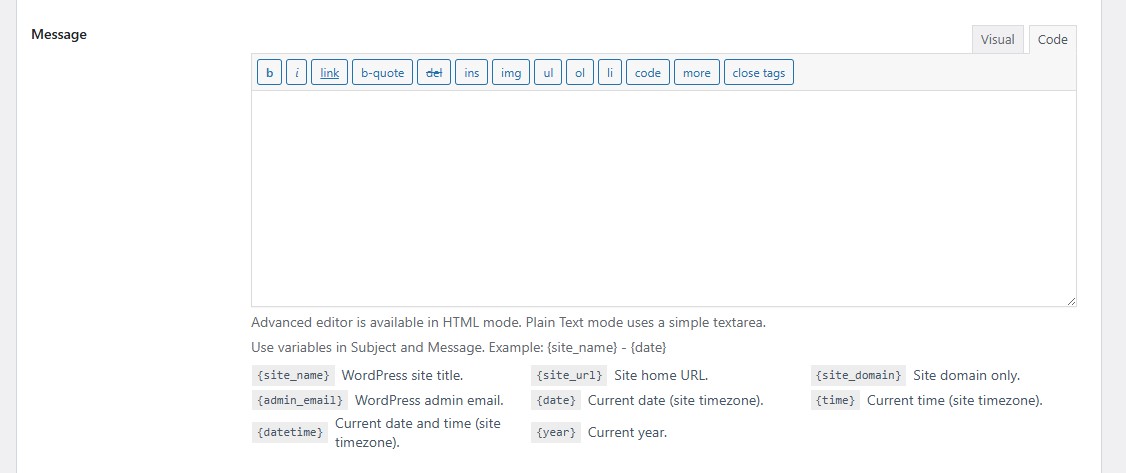
Message: This is where you write the email content. If HTML is selected in the Format option, you will see the advanced editor, which lets you format the message and use the Visual or Code mode. If Plain Text is selected, you will see a simple text box without formatting options.
You can also use built in variables in the Subject and Message fields to automatically insert dynamic WordPress information. Some useful examples include {site_name} for the site title, {site_url} for the site homepage URL, {admin_email} for the WordPress admin email, {date} for the current date, {time} for the current time, and {datetime} for the current date and time.
Attachments: This section lets you add files to your email. You can choose between Attach Files and Send Links Only, depending on how you want to include the selected media.
Attach Files: Selected files will be sent as real email attachments. In this mode, you can attach up to 10 files, each file can be up to 10 MB, and the total combined size of all attached files can be up to 25 MB.
Send Links Only: Instead of attaching the files directly, this mode adds the selected file URLs into the email content. Because the files are not attached to the email itself, attachment size limits are not applied in this mode.
Use Choose from Media Library to select files, and Clear Selection to remove the current selection before sending.
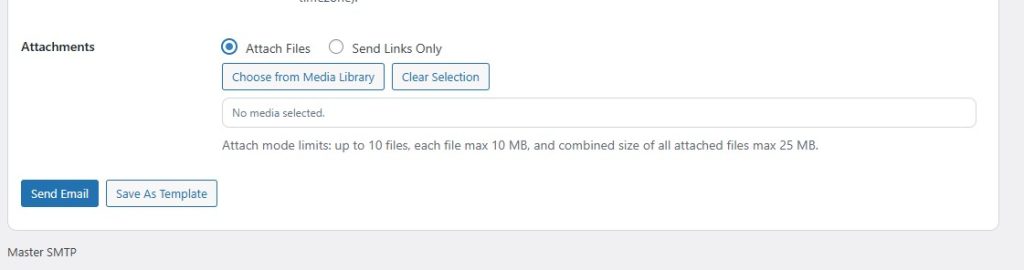
Send Email: Click this button to send the email using the selected connection and current settings.
Save As Template: Click this button to save the current email as a reusable template for later.
Mailer Sender Templates
Mailer Sender templates let you save your email setup and reuse it later. Any template you save can be loaded again when needed, which helps you quickly prepare similar emails without entering the same subject, content, and other details each time.
Saved Templates
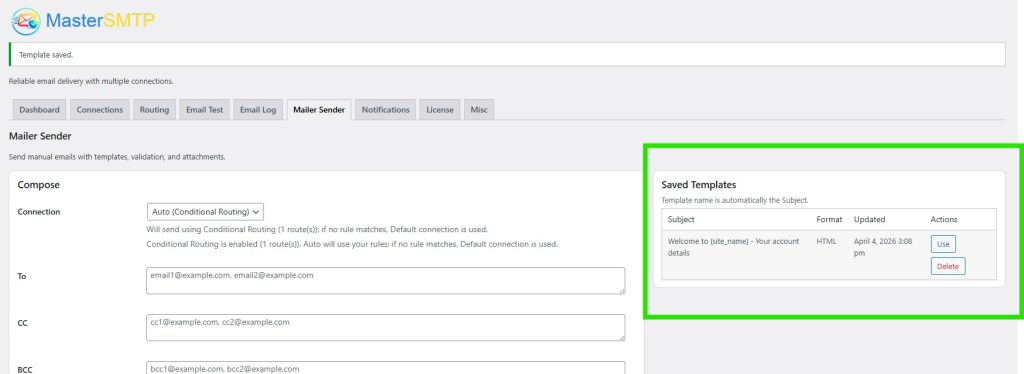
The Saved Templates section shows the email templates you have already saved, so you can quickly reuse them later without creating the same email again from the beginning.
Subject: Shows the saved template name. The template name is automatically taken from the email subject.
Format: Shows whether the saved template uses HTML or Plain Text format.
Updated: Displays the last date and time the template was saved or updated.
Use: Click Use to load the saved template into the Compose section.
Delete: Click Delete to remove the saved template.